Baking

Healthy Oaty Choc Chip Banana Bread

Healthy Oaty Choc Chip Banana Bread

I’m a sucker for banana bread. I LOVE it. I have several recipes for different variations, but this is the first flourless one I’ve ever made and I have to say - it might be my favourite. It’s made with Oats instead of flower, making this a filling alternative.

This recipe is super EASY and has only 6 ingredients! It’s also one of those ones where everything gets thrown into a blender, which are always great time savers. This recipe is also bariatric friendly for those 6 months post op (earlier if you are ok with having higher carbs) and low calorie. If you’re watching your protein, add 30g of protein powder to the recipe to up the protein content.

Hot Tip: I do think with this recipe that it is best on day 2 and 3. It holds its shape a little better and the flavours really sink in. It’s mouth wateringly special!!

If you want to try out my Banana Dark Choc Loaf made with coconut and almond flour, check it out HERE.

Full of oaty goodness and sweet choc chips

Oaty Choc Chip Banana Bread

  • 2 cups rolled oats

  • 3 large bananas

  • 2 eggs

  • 1/4 cup sugar free maple syrup (or regular)

  • 1 teaspoon baking soda

  • 1/2 cup sugar free or regular choc chips

  • Optional - 30g protein powder

Method:

  1. Preheat oven to 180 degrees fan bake

  2. Place all ingredients except for chocolate chips into a blender and blend for 20-30 seconds until smooth

  3. Mix in chocolate chips

  4. Place batter into a loaf tin. I added extra sliced banana on top to make it look pretty!

  5. Bake for 35 - 40 mins depending on your oven

Nutritional Info:

10 serves, PER SERVE
153 calories / 5.4g protein / 13.8g carbs / 5.8g fat
with protein powder: 166 calories / 7.8g protein / 14g carbs / 6g fat

Apple Crumble Baked Oats

Baked Oats, where have you been all my life. I’ve been making my Blueberry Cheesecake Baked Oats on repeat since sharing the recipe. They were such a hit with you guys, and so naturally I’ve been experimenting with new flavours… and this one takes the cake.

Quite honestly this is like eating apple crumble for breakfast, but with a lot more protein and less sugar. We have so much good stuff going on here - the goodness of oats which are a slow releasing carb, plus banana for potassium, apples and of course protein to help keep you full for longer. Honestly, try it at least once and let me know what you think! Keep in mind these quantities are specifically for meal prep that will last you the week. OR, you can share with your family and get a day or two out of it.

This recipe works out to roughly 30g of protein per serve if you make with the suggested ingredients below.

APPLE PIE Baked OatS

Ingredients

2 cups rolled oats (I used Scotch oats)
2 bananas
60g vanilla protein powder
I used NZ protein whey protein, gourmet vanilla
350ml milk of choice
I like calci trim as it’s higher protein than regular milk
1 tsp baking powder
1 cup frozen diced apple
1 tsp maple syrup
6 TBS high protein yogurt or greek yogurt
1 tsp cinnamon

For the ‘crumble’
3/4 cup oats mixed with 1-2 TBS smooth peanut butter

Method:

  1. Mash bananas into bottom of a dish roughly 20 x 30cm (preferably one that has a lid)

  2. Add oats, baking powder & protein powder

  3. Pour in milk and mix everything together

  4. In the microwave, heat your diced apples, maple syrup & cinnamon for 1 min to soften them up.

  5. Place spoonfuls of the apples on top of your batter, and then do the same with the yogurt

  6. Get a spoon and swirl together the yogurt, apples and yogurt - but don’t fully mix them together. You want it to be only just mixed so you can nice clumpy parts of yogurt and apples

  7. Mix together your ‘crumble’ which is just peanut butter and oats, it kind of clumps together. Springle this on top of your oats batter

  8. Place in the oven for 40 mins at 180 degrees.

  9. Once out of the oven, let cool a little and cut into 6 serves. Pop your lid on and place in the fridge.

To Serve:

  1. Take out one serve daily, warm in the microwave and add a little fresh yogurt on top. I also add a drizzle of peanut butter or some raspberries. SO GOOD!


Banoffee Single Serve Cookie Baked Oats

GET IN MY BELLY! If you’re looking for someone quick you can whip up for dessert… or breakfast (I won’t judge) then look no further. This is a baked oats recipe, but not as you know it. It’s done a little differently and the texture is different to my other baked oats recipe due to being blended… think more like a cross between a pancake and a cookie. So yum and feels so decadent yet it’s healthy, made fro oats and full of protein.

Banoffee Single Serve Cookie Baked Oats!

Ingredients

1/2 cup rolled oats (I use the ‘scotch’ oats
1/2 banana
2 TBS Caramel or Salted Caramel protein powder *
1 egg
1/4 cup milk of choice
1/4 tsp baking soda
1 tsp maple syrup
Choc chips (I use sure free, use as many of you like)

Method

  1. Blend all of your ingredients together except for the chocolate chips until they are well combined and texture is smooth

  2. Pour into an oven safe single serve dish and sprinkle with choc chips

  3. Bake for 20mins at around 180 degrees on regular bake, but keep an eye on it. My first experiment resulted in an explosion from having oven too hot!

  • I get a really yummy salted caramel protein powder that is whey based from NZ protein. It’s amazing!

Quick & Easy Meal Prep Ideas

Quick & Easy Meal Prep Ideas

I love a bit of a meal prep session on a Sunday. It definitely helps my week go better being that little bit more organised, and the time investment is not that big. I put together a reel of my latest meal prep routine and thought I would share the recipes here in one place, plus I’ve added in one or two more that are go to’s.

Strategy wise - my goal is to always prep:
- One Protein
- Baking for lunchboxes
- One breakfast for the week (for example, either granola or baked oats)
- Some snacks
- if time, chopped veggies

Here’s what that would look like for prep.
________________

Pulled Pork or Beef Brisket

Having a protein in the fridge that will last 2-3 meals is a game changer. Our faves are my pulled pork or brisket as both can be used in a variety of meals that are quick and easy. This week our one Pork Shoulder did 3 meals.

Night 1: Quessidillas done in the toasted sandwich maker (just add cheese)
Night 2: Pulled Pork Subs. I buy some of the long loaves of French or Italian bread from Countdown, add cheese, lettuce and tomato. Bingo! Delicious
Night 3: Pulled Pork with Mashed Potato and Steamed Broccoli. Part of my meal prep this week was freezing some mash (game changer) so we pulled out a serve of that and it just took 5 mins to steam some brocoli

MASHED POTATO

Yep, you heard me right. Freeze some mashed potato! While some of the other things are on, pop on some potatoes. When cooked, drain and completely cool before mashing. Store servings in zip lock bags to store in the freezer.

Blueberry or Raspberry Cheesecake Baked Oats

I can’t tell you how much I love this recipe. It’s a life saver for me, making mornings so much easier. I bake one batch on Sunday and it lasts me until Saturday. GOLD.

Muffins or Cookies

You can’t beat the good old Edmonds Sweet Muffin mix! They are very easy, economical and quick. I add a mashed banana and either blueberries or raspberries to ours and Aiden loves them. Store in the freezer and just get one out when making lunches makes them last longer.

HOME MADE GRANOLA

Home made granola is really easy and really yummy. I have two recipes you can try.

Date, Banana & peanut butter chocolate bites

I make these every week, mainly for me. When I want something sweet, I can grab one from the freezer. They are SO yum!

Lastly, if you have time, chopping up veggies for meals ahead if always a great idea. I even shred our lettuce to save extra time when making salads or sandwiches.

Happy prepping!

Justine

Meal Prep: Blueberry Cheesecake Baked Oats

Ok so we can all thank late night instagram scrolling for this one. Although I saw it, thought I saved the recipe and then didn’t and have struggled to find again and had HALF a screenshot of the recipe, but it’s ok as I just ran with my terrible memory (but also pretty good knowledge of baked oats) and think I nailed it first go. So, credit to the lovely lady with the British accent for the Inspo… and half the recipe 🤦🏻‍♀️

Quite honestly this is like eating cake for breakfast. But it’s HEALTHY cake. We have so much good stuff going on here - the goodness of oats which are a slow releasing carb, plus banana for potassium, blueberries with all their amazing properties and of course protein to help keep you full for longer. Honestly, try it at least once and let me know what you think! Keep in mind these quantities are specifically for meal prep that will last you the week. OR, you can share with your family and get a day or two out of it.

Blueberry Cheesecake Baked OatS

Ingredients

2 cups rolled oats (I used Scotch oats)
2 bananas
60g protein powder
I used NZ protein whey protein, gourmet vanilla
420ml calci trim milk
You can sub any milk alternative, I like calci trim as it’s higher in protein than regular milk
1 tsp baking powder
1 cup frozen blueberries
1 tsp maple syrup or honey
6 TBS high protein yogurt or greek yogurt

Method:

  1. Mash bananas into bottom of a dish roughly 20 x 30cm (preferably one that has a lid)

  2. Add oats, baking powder & protein powder

  3. Pour in milk and mix everything together

  4. In the microwave, heat your blueberries and maple syrup or honey for 1 min to soften them up.

  5. Place spoonfuls of the blueberries on top of your batter, and then do the same with the yogurt

  6. Get a spoon and swirl together the yogurt, blueberries and yogurt - but don’t fully mix them together. You want it to be only just mixed so you can nice clumpy parts of yogurt and blueberries

  7. Place in the oven for 40 mins at 180 degrees.

  8. Once out of the oven, let cool a little and cut into 6 serves. Pop your lid on and place in the fridge.

To Serve:

  1. Take out one serve daily, warm in the microwave and add a little fresh yogurt on top. I also add a drizzle of peanut butter. SO GOOD!


Banana & Dark Chocolate Loaf

IMG_5626.jpeg

Another favourite recipe from my friend Caralee Fontenele’s latest cookbook Nourishing You, I have adapted these Banana and Blueberry Muffins into a Banana & Dark Chocolate Loaf. It is so delicious and a firm favourite in our household for lunchboxes or an afternoon tea treat.

If you want to swap out the dark chocolate (although Im’ not sure why you would), it is also really yummy with diced apple.

The best part about this recipe? It’s made in a blender and is so quick!

Ingredients:
1 cup almond meal
2 tablespoons coconut flour
1 cup dried dates
1 teaspoon baking soda
1/2 teaspoon baking powder
1 teaspoon cinnamon
1/2 teaspoon mixed spice or nutmeg
pinch of salt
2 eggs
1 ripe banana (plus another for on top)
2 tablespoons apple cider vinegar
2 tablespoons melted coconut oil
Dash of vanilla
5 square dark chocolate chopped roughly

Preheat oven to 180 degrees and prepare your loaf tin by greasing with oil.
Place all of your dry ingredients (except for chocolate) into the food processor and process until the mix resembles a breadcrumb. Depending on your blender you may have to do this in a few batches.
Once done, place the dry mixture in a large bowl.

Now add all wet ingredients to food processor and blend well. Once processed, add to your dry ingredients and fold in the chocolate as well.

Bake in the oven for 25-30 mins or until a skewer comes out clean.

IMG_5623.jpeg

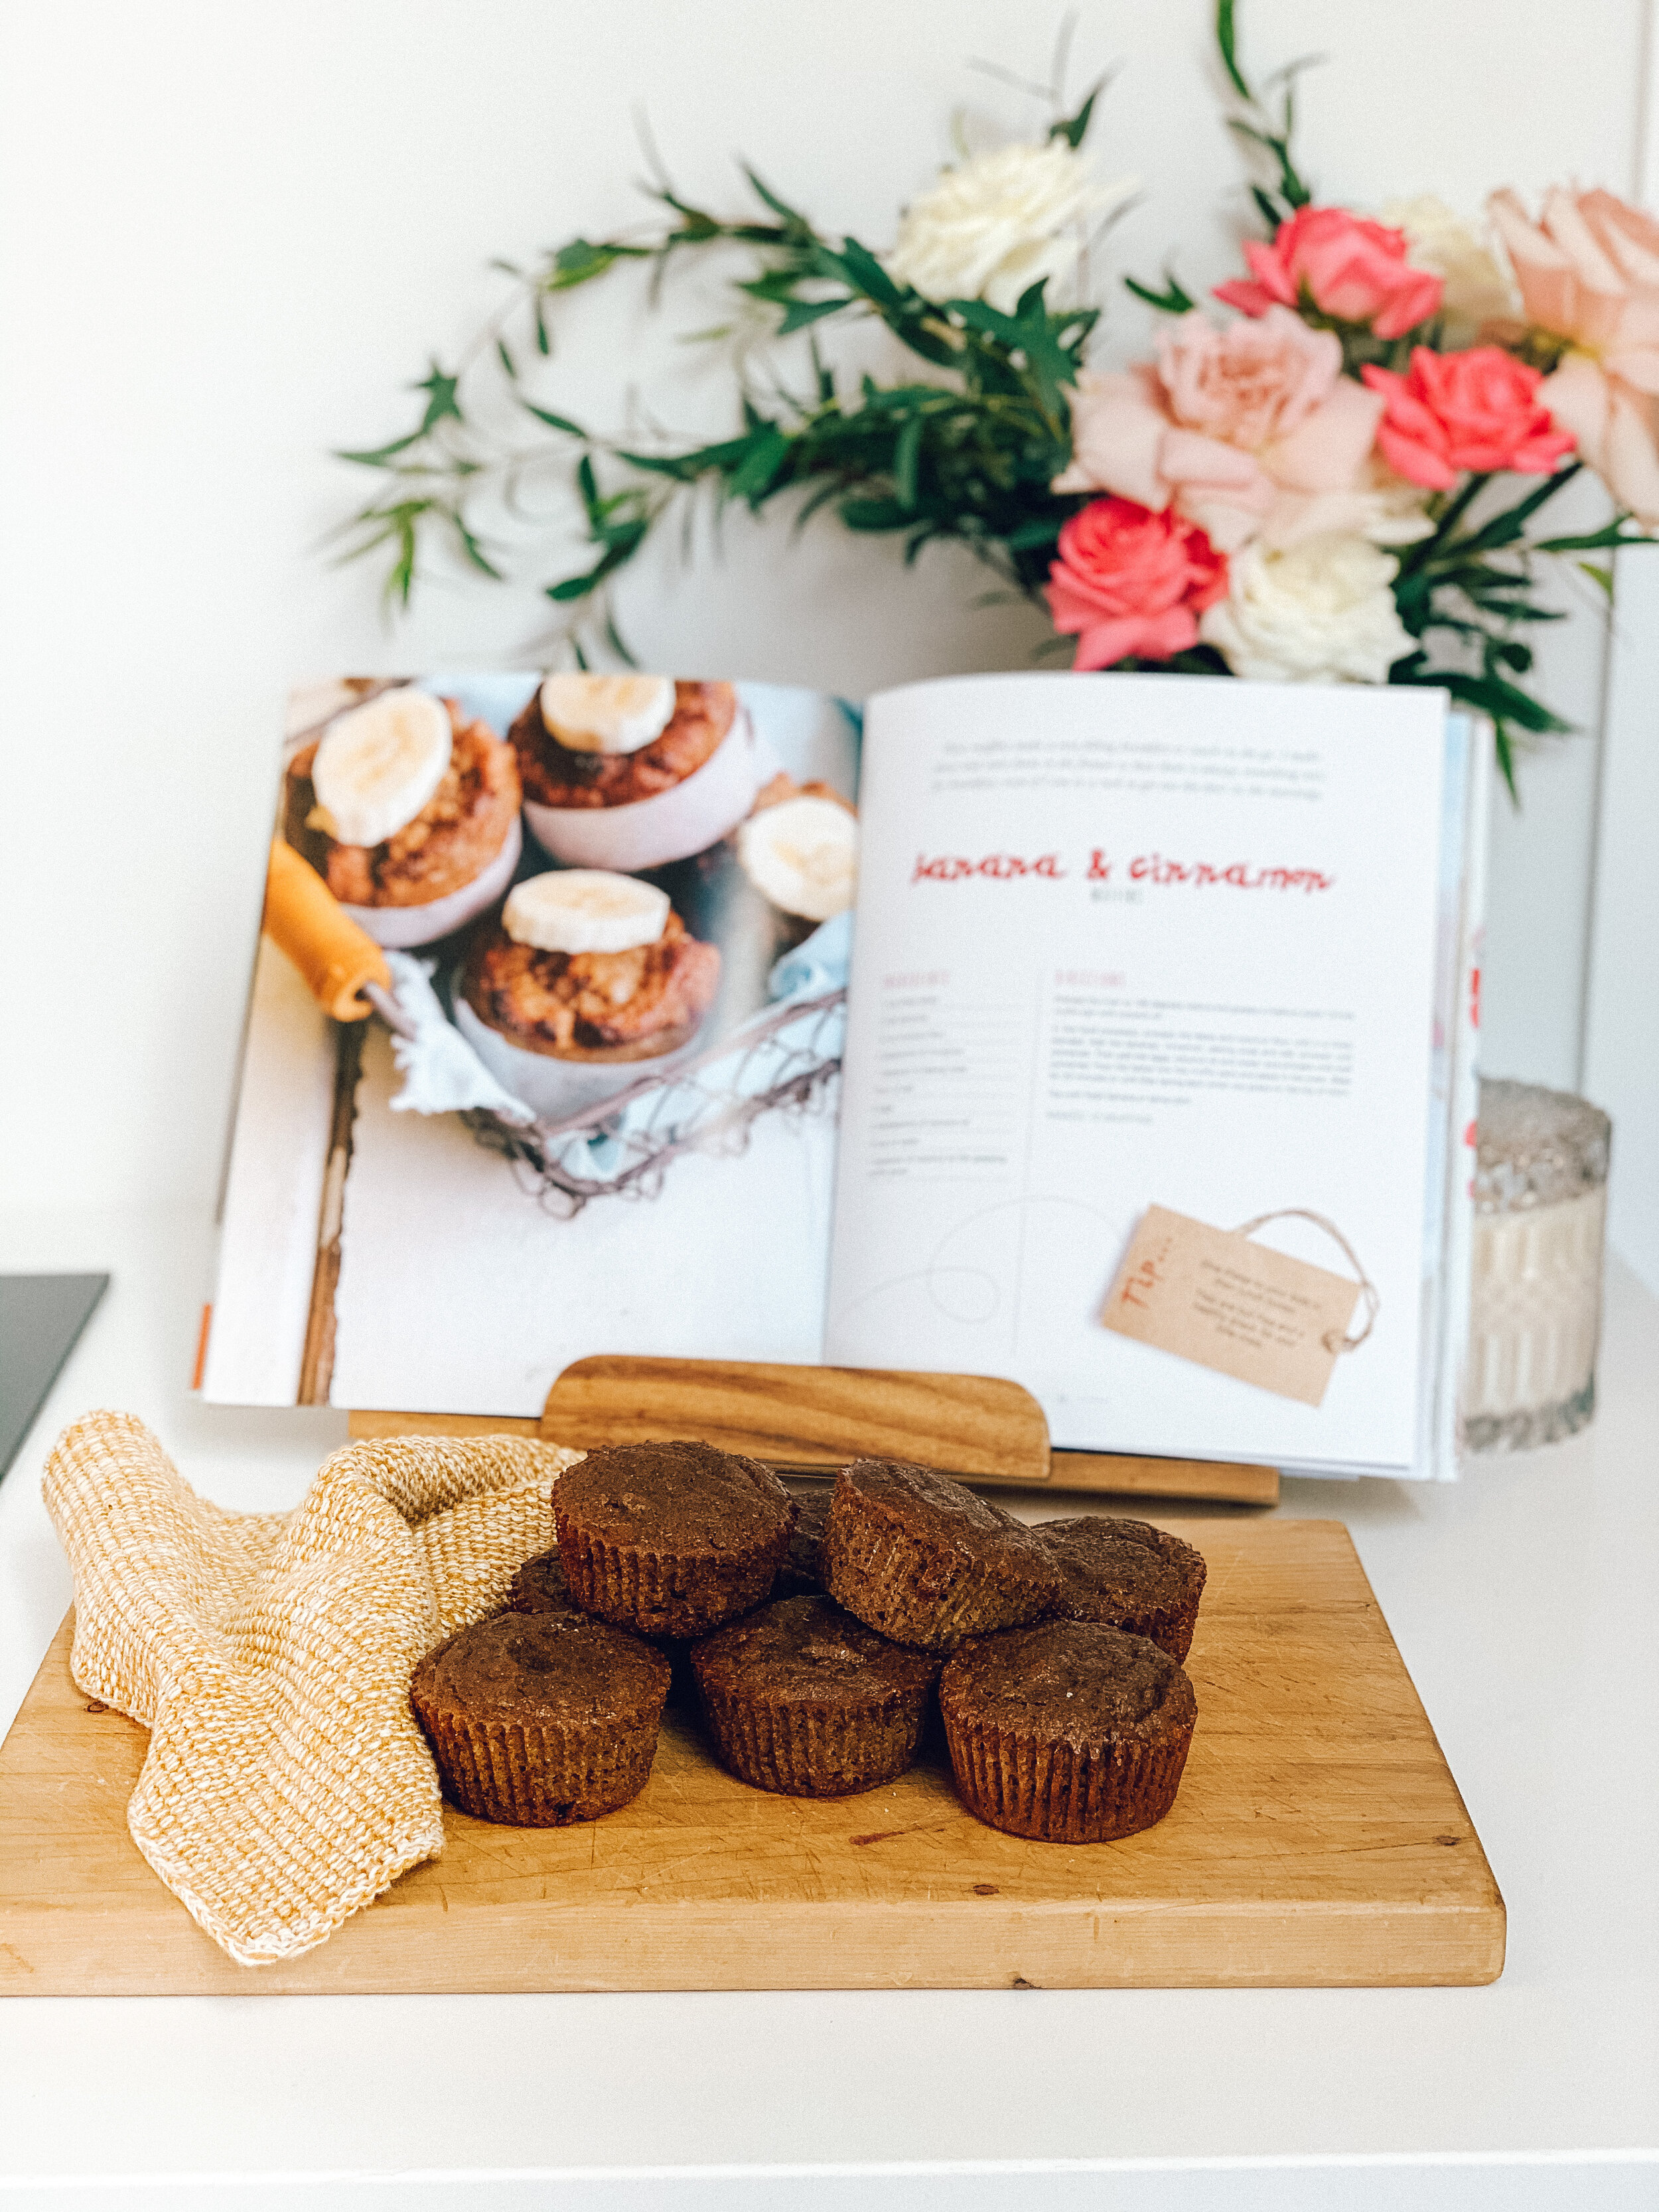
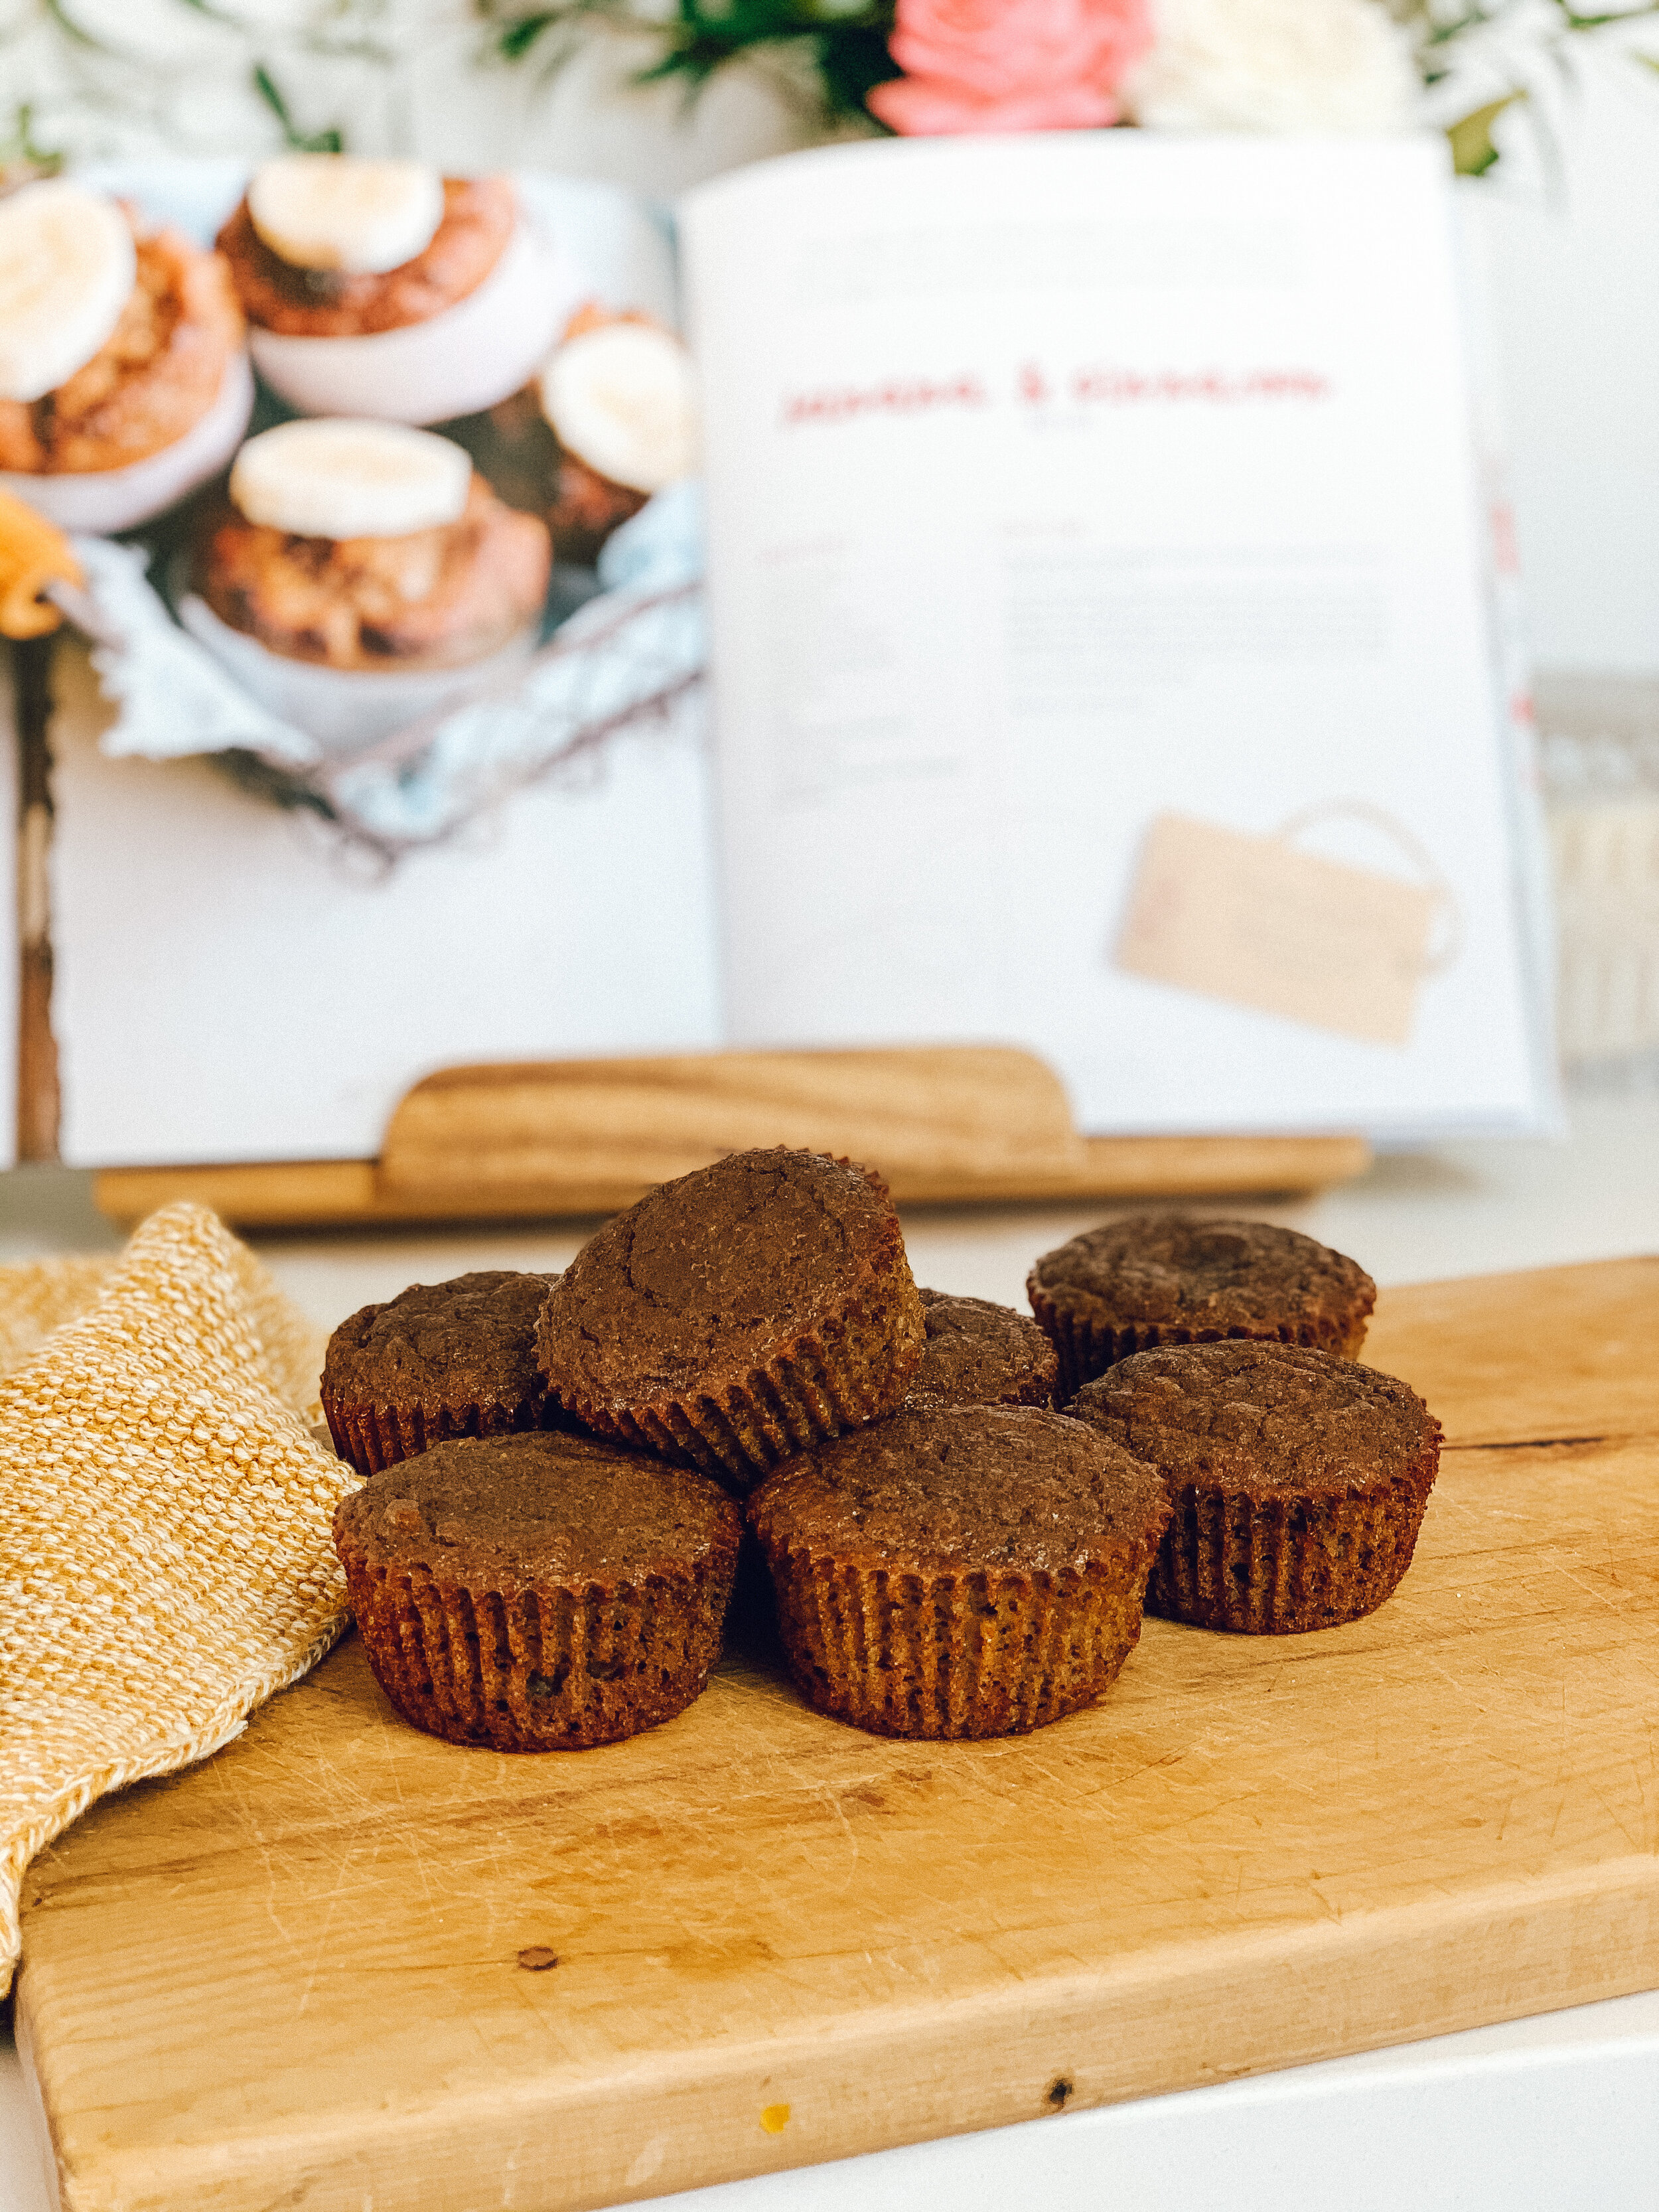
Banana & Cinnamon Muffins

IMG_3825.JPG

This recipe comes courtesy of Caralee Fontonele’s Real Food Pledge Cookbook, it’s a new favourite in our house!  These muffins are moist and delicious! They are is DF / GF & Refined Sugar free. Best of all they are SO quick and easy as they are made in the blender, perfect for baking with kids too,.

Caralee’s 3rd cookbook is out soon and is available for preorder, pop onto her website for details!

Ingredients

1 cup dates
2 ripe bananas
4 eggs
1/2 cup coconut flour
2 tsp cinnamon
1 tsp baking soda
Pinch salt
2 TBS coconut oil
1/2 cup water

Preheat oven to 180 degrees celsius and line your muffin pan with liners.

In the food processor, process the dates and coconut flour until it is finely blended. Add the bananas, cinnamon, baking soda and salt ; process until combined. Then add the eggs, coconut oil and water and process until well combined. Pour the batter into the muffin pans and place in the oven.
Bake for 20 mins or until they spring back when you press on the top of them.

Variation: add some frozen blueberries or dark chop chips!

IMG_3819.JPG


Meal Prep Ideas: Roast Vegetable Salad with Chicken, Nut & Seed Chocolate Bark, Bliss Balls & Chia Jam

IMG_5793.jpeg

This week I extended meal prep to an hour and a half. And did 4 meals for lunches plus our treats for the fridge as well. We love bliss balls around here for snacks and lunchboxes, and I also decided to experiment and make a nutty chocolate bark full of goodness. It turned out amazing!

First up -

Roast Vege Salad with Chicken Breast & Lemon Mustard Dressing
Makes 4 meals

IMG_5794.jpeg

3 x chicken breasts
1/4 pumpkin
1 kumara
1 red onion
2 zucchini
2 x coloured capsicum (I used red and yellow - eat the rainbow!)
Corn kernals
1/2 bag baby spinach

To make the salad, chop all veges in similar size and line roasting tray in a single layer. Toss olive oil through veges and season. Bake for roughly 25 mins.

For the chicken, bake as preferred - I like to coat chicken breast with dukkah! Bake for 30 mins.

Once vegetables have cooled, toss through corn and spinach. Places equal amounts in your Tupperware and slice chicken evenly to place on top.

For lemon dressing, combine:

Juice of 1 lemon
1TBS whole grain stone mustard
2 TBS olive oil
1 TBS mayonnaise

Mix with a fork for a minute or until comes together.

Drizzle over salad before storing in fridge for up to 5 days, or freezer for 2 months

Chia Jam

Chia jam is one of the quickest and easiest things you can do to make a small change in your diet to reduce sugar for your family. Ditch sugar laden jams for this recipe which just uses natural sugars of the berries or fruit. This week I used plums from our orchard that had been boiled down, but raspberry is a firm fave in our house.

1.5 cups berries
1-2 cup chia seeds
*maple if sweetener needed

Heat berrris on stovetop in a pot until broken down, use a masher to squash them! Once heated, add your chia seeds and maple (if using), stir and place into a jar. Store in fridge to set. Keeps for up to a week.

Nut & Seed Chocolate Bark!

This delicious chocolate deserved a post all of it’s own, CLICK HERE.

IMG_5798.jpeg

Cacao Crunch Bliss Balls

This week I totally cheated and got a bliss ball mix from Clean Mixes. The wholesome co also have some great prep mixed blends you can buy. If you’re short on time these mixes are fab.

These are the Cacao Crunch flavour and I added in extra pumpkin seeds plus some crushed almond and buckwheat. Wherever possible I add extra bits and pieces that up the nutritional content of foods.

IMG_5804.jpeg

Raw Lemon & Raspberry Mini Cheesecakes

IMG_1155.jpeg

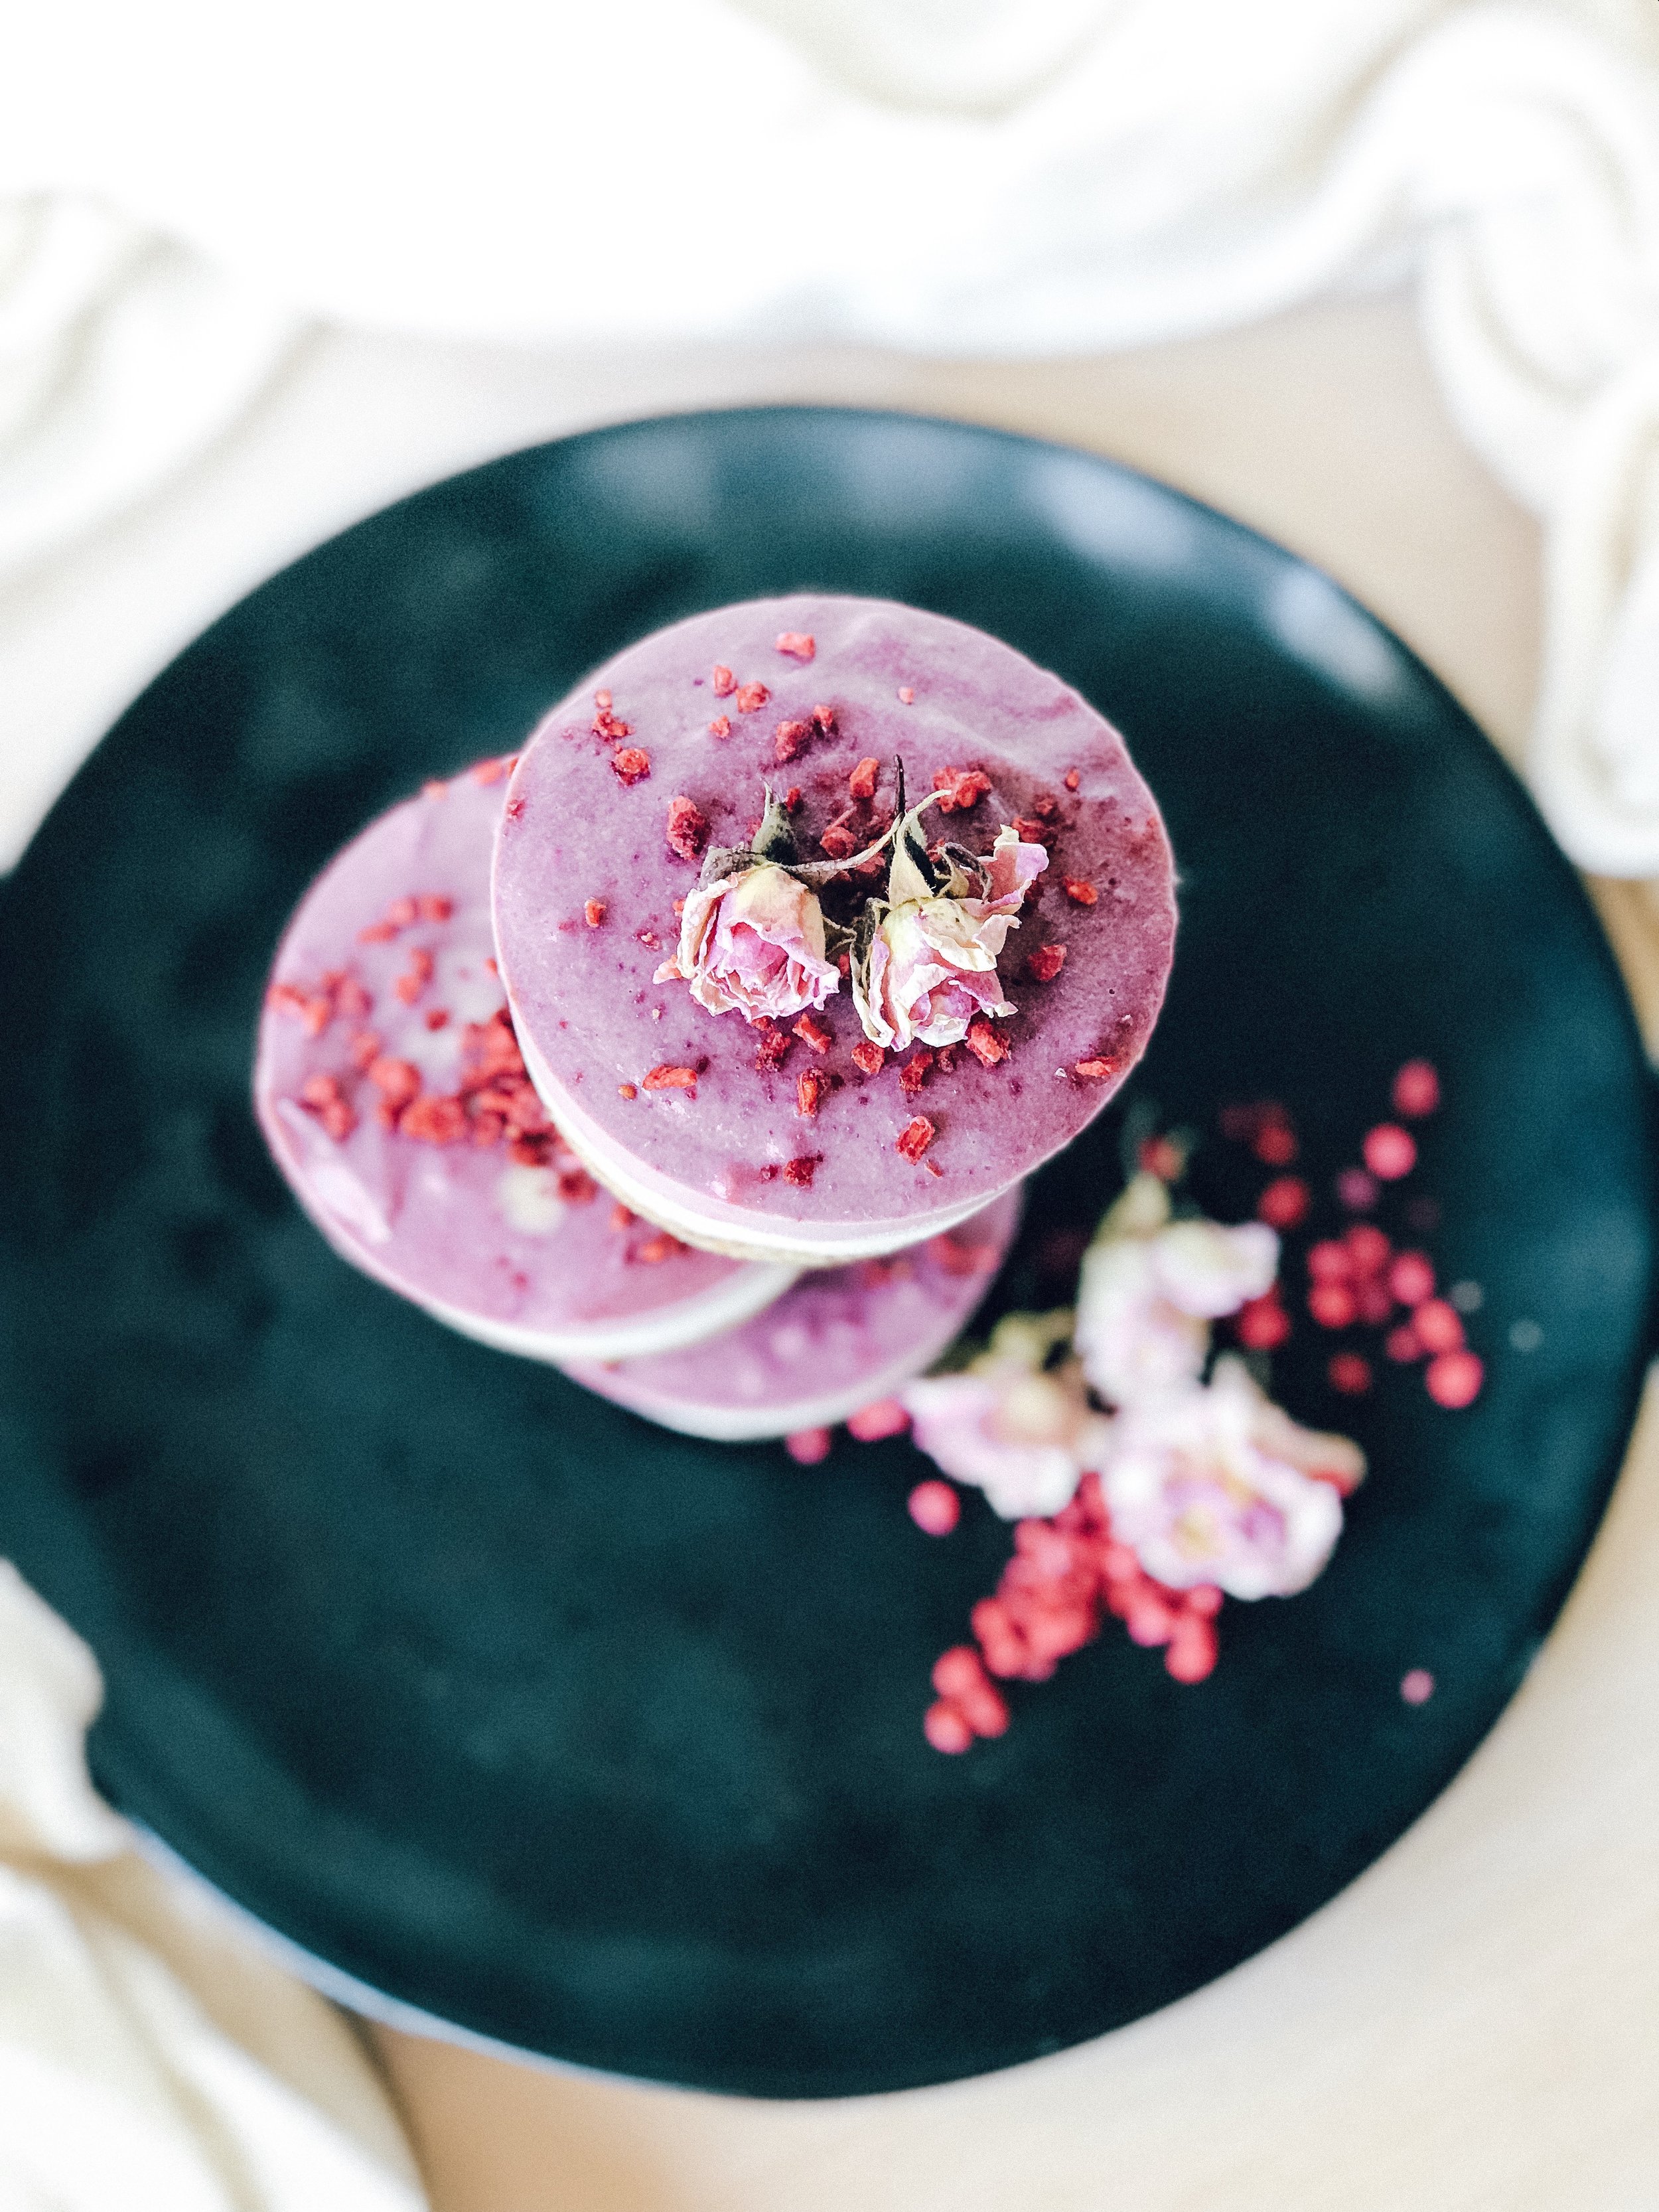
I have absolutely saved the best for last team! This is a recipe I created from scratch and it’s my all time fave. These perfect little cheesecakes are delicious – you will never want to eat regular cheesecake again!  It is perfect for a summer treat and made with wholesome ingredients. They are gluten free, vegan and refined sugar free.   Just remember to soak your cashews the day before, but otherwise a very easy recipe.

Male these for your family for Christmas and they love you for it!

Ingredients

Base:

1 cup cashews

1 cup almonds

½ cup coconut

½ cup soaked dates

1 TBS maple

Lemon Filling:

2 cups of cashews, soaked overnight

400 grams coconut cream

½ cup pure maple syrup

½ cup cacao butter, melted

Juice of 1 lemon

Zest of 1 lemon

1 teaspoon vanilla bean paste

Pinch of salt


Method:

For the base, soak your dates in boiling water for 10 mins. 

Combine the nuts and coconut in a blender and blend until fine.
Drain the dates and add to the blender along with the maple syrup and blend until combined.  The mixture should hold together well and be sticky.

Spoon one table spoon at a time into silicon cupcake trays, press down with the back of the spoon and then pop in the fridge while you make the fillings.

Make the filling:
To make the filling, add all of your lemon filling incredients into the blender and blend until smooth and glossy, approx 3-5 minutes.

Pour into molds to about half way, leaving room for the raspberry layer on top. Return to fridge.

To make the raspberry layer, add 1 cup fresh or freeze dried raspberries to your lemon filling and blend for a minute, or until completely blended.  Pour into your molds, filling to the top. Sprinkle freeze dried raspberry on top. 

Set in the freezer up to 4 hours, or overnight. 

IMG_1162.jpeg

IMG_1168.jpeg

Raw Chocolate Tart

And we have a winner. When I think about yummy Christmas food, I think of chocolate. Am I right? I have always loved baking for my family at Christmas time and usually something with chocolate is in the mix. When coming up with my menu for this baking series, I knew there needed to be something in there for chocolate lovers everywhere.

rawchocolatetart3

This recipe is gluten free, dairy free, vegan & refined sugar free. Oh, and also surprisingly easy.
Remember to soak your cashews at least 4hrs in advance of making! The longer you soak them, the creamier the mixture will be.

Serve with fresh strawberries or raspberries.

Ingredients:

Base
2 cups natural cashews
1 cup almonds
1/2 cup pitted dates
3 TBS cacao
2 TBS pure maple

Chocolate Filling
2 cups (250g) raw cashews (soaked for minimum 4 hrs)
1 teaspoon vanilla paste
1 tablespoon lemon juice
½ cup coconut oil, melted
50g cacao butter, melted
1 teaspoon maca powder (optional)
1/3 cup pure maple syrup
100ml (about 7 tablespoons) nut milk of choice
¾ cup raw cacao powder

Method:

The cashews for the filling need to be soaked for a minimum of 4 hours (recommend longer).

To make the base, place all of the dry ingredients (nuts and cacao) into your blender and blitz until crumbly. Add your drained, soaked dates and maple and blitz again until the mixture is combined. Mixture will be sticky. Pop your base into a tart tin and press into the base and up the sides. Place in the fridge while you make the filling.

To make the filling, place all ingredients back in your blender and mix until smooth, this will take anywhere from 3-7 minutes depending on your blender. Pour the filling over your base and place in the freezer to set.

Serve with strawberries or raspberries along with some plain coconut yogurt.

Can be stored in an airtight container in the freezer for up to 3 months.

rawchocolatetart
rawchocolatetart2

PB & J Raw Slice

I love peanut butter and jam on bread. Give me some thick grainy bread - toast it and I’m done.
It’s one of my favourite things ever.

peanutbutterjellyslice

I love the combo of a good quality peanut butter with a delicious fruity jam or jelly, so when Pics Peanut Butter here in NZ sent me some of their new Boysenberry Jelly to try, I knew I wanted to create a ‘me’ version of a PB&J treat. After eating several teaspoons straight from the jar (oops), I decided to make a wholesome PB&J slice that I could enjoy, and take me back to my childhood of PB&J sammies!

I actually used the base of my Best Raw Caramel Slice recipe, added oats & peanut butter to the the mix to bulk it out a bit more, and then added a layer of the jelly mixed with chia seeds so that it would set. On top of that, of course, some Pics Smooth Peanut Butter.
Swirl it around so it gets all mixed together!

It’s goey, messy and utterly delicious.

For The Base

IMG_6765.JPG
  • 1 cup cashews

  • 2/3 cup almond meal

  • 2 cup wholegrain oats

  • 3 tbs. coconut oil

  • 3 tbs. smooth Pics Peanut butter

  • 3 tbs. cacao powder

  • 1 tbs. 100% maple or rice malt syrup

Jelly Layer

  • 6 tbs. Pics Boysenberry Jelly

  • 2 tbs chia seeds

Peanut Butter Layer

  • As much peanut butter as you like!

Method:

Blend together all of the dry base ingredients until it becomes a fine crumb. Add in your wet ingredients and blend again. Mix will be quite wet. Place into the bottom of a 20inch pan and set in the freezer.

In a small bowl, combine the jelly and chia seeds. Take out your slice and smooth over the jelly layer. Return to set for an hour or two.

Once set enough, add some smooth peanut butter and swirl it around to get the PB&J blended.
Cut into squares and enjoy!

xx

The Best Raw Chocolate & Salted Caramel Slice!

I have been experimenting with buying raw treats over the past 7 months and discovering a whole new world of amazing refined sugar free treats.  I've made some as well as I love to have a little stash in the freezer!  I must confess that pretty much all of the slices I have tried have been really really good - both made and bought, much better than I expected.  If you've ever doubted that raw can be as good as 'the real thing', then you absolutely need to try and see for yourself!

Of all my experimenting, the one that always gets me, no matter where I buy it from, is a caramel & chocolate slice or peanut butter and chocolate protein slice. Holy moly, caramel made from dates and coconut cream is out of this world good.

After dabbling with a few basic raw recipes I decided it was time to try the cream of the crop - a trip layer caramel slice.   It's delicious, utterly drool worthy and not as hard as I expected. Want to give it a go?  Here's the recipe, adapted from The Merrymaker Sisters. I'm gutted I didn't get any photos side on, and to be honest mine was a bit slapstick as I was in a rush - but in an ideal world, you should be three definite layers.

PS - Remember this is a treat and not something you should go crazy on.  Although refined sugar free, these types of slices are still high in natural sugars, so something you should eat in moderation.  Good luck with that!  Pop it in the freezer so that you don't get tempted to eat all at once.

Salted Caramel Choc Slice


For The Base

  • 1/2 cup cashews

  • 1/3 cup almond meal

  • 3 tbs. coconut oil

  • 2 tbs. cacao powder

  • 1 tbs. 100% maple or rice malt syrup

For The Caramel Filling

  • 1 1/2 cups dates

  • 1/2 cup coconut milk

  • 1/2 cup coconut oil

  • 1/2 tsp. Himalayan pink salt

For The Choc Topping

  • 1/2 cup coconut oil

  • 2 tbs. cacao powder

  • 1 tbs. 100% maple or rice malt syrup

  • 1/2 tsp. pink Himalayan salt (optional)

Method

  • Line a 20 x 10 cm (8 x 4 inch) loaf tin with baking paper.

For The Base

  • Place all the base ingredients in to a food processor (we use our Vitamix). Whiz until well combined, it will be a little sticky and crumbly.

  • Press this mix in to the prepared tin, ensure it is pressed evenly.

  • Place the tin in to the freezer to set

For The Caramel Filling

  • Using the food processor (don't worry about washing it) place all the caramel filling ingredients and whiz until completely smooth (it will take around 5 minutes).

  • Pour this delicious mixture over the top of the base and return to the freezer.

For The Choc Topping

  • Using the food processor (again, don't worry about washing it) add the raw cacao, coconut oil and maple syrup, mix until completely smooth.

  • Pour the choc topping over the caramel filling, shake the tin slightly to even it out. I gave it a bit of a swirl!

  • Sprinkle with Himalayan pink salt if you like things extra salty.

  • Return to the freezer for about 1 hour or until completely set.

  • Once set, cut into slices and store back in the freezer!

rawchoccaramelslice

Raw Vegan Lemon & Coconut Slice 

Those of you who follow me on instagram, when it comes to food, know three things for certain  - I love smoothies, I have a sweet tooth and I love Cathedral Cove Naturals products. 

It started with the paleo cereals to put on my smoothies or bowls for some crunch, and then I discovered the coconut yogurts. I love yogurt, and when I started focusing on my health and the amount of refined sugar I was having, I really struggled to find a dairy yogurt that was good for me.  The lowest I could find was 6g of sugar per 100g, which is actually not too bad really and I made do with that for a while.    

Then I found  Cathedral Cove natural yogurt, how could this creamy goodness taste so good and be so low in sugar? There is only 1g of sugar per 100g and it literally has two ingredients - coconut cream and probiotic cultures. That's it.  

I use it primarily as a topping or base - combine the yogurt with their cereal and some fruit and you've got heaven in a bowl (see my instagramfor photos!) They also have several other flavours if you're wanting something more decadent, the raspberry and chia one is my absolute fave (this one is slightly higher in sugar). 

After following them on instagram I've seen there are a lot of clever ways to use coconut yogurt, including raw baking. One slice caught my eye so I decided to make it yesterday. This recipe comes from their website and is really really delicious and super simple!  

Make it and let me know what you think! 

Ingredients

Base

1 Cup of Desiccated Coconut

1 Cup of Mixed Nuts (we used cashews and macadamias)

2 Tbs of our Raw Organic Coconut Oil

2 Tbs of Coconut Butter (or nut butter of choice)

1 Tsp Cinnamon

½ Tsp Ground Ginger

Filling
1 Cup Natural Coconut Yoghurt

1 Cup of Raw Cashews (soaked overnight)

Zest and juice of one large Lemon

3 Tbs of Pure Maple Syrup (or sweetener of choice)

½ tsp of Vanilla Powder

Garnish (optional)
Handful of chopped Mint, Zest of one Lemon, Chopped Macadamias

Freeze dried Strawberries

Instructions
Firstly, line a square baking tray or container with baking paper. 

To make the base add all of the ingredients into a food processor and blend until everything is combined. The mixture should be able to come together easily. Place the base mixture into the baking tray and press down firmly. Transfer to the freezer while you make the filling. To make the filling add all of the ingredients into a high-speed blender and blend until the mixture is smooth. Pour the filling on top of the base layer and put back into the freezer to allow it to set over night or for 4-6 hours. Once this layer has set you can garnish it with the mint, lemon zest, macadamias and freeze dried strawberries. Prior to serving place the slice in the fridge for a couple of hours to allow it to soften.

rawlemoncoconutslice