Lunch

Healthy Oaty Choc Chip Banana Bread

Healthy Oaty Choc Chip Banana Bread

I’m a sucker for banana bread. I LOVE it. I have several recipes for different variations, but this is the first flourless one I’ve ever made and I have to say - it might be my favourite. It’s made with Oats instead of flower, making this a filling alternative.

This recipe is super EASY and has only 6 ingredients! It’s also one of those ones where everything gets thrown into a blender, which are always great time savers. This recipe is also bariatric friendly for those 6 months post op (earlier if you are ok with having higher carbs) and low calorie. If you’re watching your protein, add 30g of protein powder to the recipe to up the protein content.

Hot Tip: I do think with this recipe that it is best on day 2 and 3. It holds its shape a little better and the flavours really sink in. It’s mouth wateringly special!!

If you want to try out my Banana Dark Choc Loaf made with coconut and almond flour, check it out HERE.

Full of oaty goodness and sweet choc chips

Oaty Choc Chip Banana Bread

  • 2 cups rolled oats

  • 3 large bananas

  • 2 eggs

  • 1/4 cup sugar free maple syrup (or regular)

  • 1 teaspoon baking soda

  • 1/2 cup sugar free or regular choc chips

  • Optional - 30g protein powder

Method:

  1. Preheat oven to 180 degrees fan bake

  2. Place all ingredients except for chocolate chips into a blender and blend for 20-30 seconds until smooth

  3. Mix in chocolate chips

  4. Place batter into a loaf tin. I added extra sliced banana on top to make it look pretty!

  5. Bake for 35 - 40 mins depending on your oven

Nutritional Info:

10 serves, PER SERVE
153 calories / 5.4g protein / 13.8g carbs / 5.8g fat
with protein powder: 166 calories / 7.8g protein / 14g carbs / 6g fat

Low Carb & Bariatric Friendly Lasagna

Low Carb, Protein Packed & Bariatric Friendly Lasagna

Pretty proud to say yesterday I made one of the best lasagna’s I’ve ever had! This is pretty big considering Lasagne is my favourite food, and I’ve had them a lot. BUT, I normally don’t make at home, seeing as my husband is allergic to dairy. Since having weight loss surgery I don’t eat a lot of pasta, so decided I would make a bariatric friendly version that I could portion out and store in the freezer for when I need an easy meal.

After having a bit of a look online at various ways to make a low carb lasagna, I decided to combine a few things I’d seen and come up with my own version. It’s a bit softer than a regular lasagne, and next time I’ll add another zucchini and wrap layer… but here it is, let me know what you think!

Ingredients

  • 2 courgettes, thinly sliced lengthwise

  • 1 tablespoon olive oil

  • 800g-1kg ground beef / mince

  • 1 small onion

  • 1 pack keto / low carb wraps

  • 1 Bottle Pasta sauce (I used a herb style one)

  • 250g tub ricotta

  • 1 tsp salt

  • 1/2 tsp nutmeg

  • 1/2 bag baby spinach

  • 1 egg

  • 2 cups grated edam cheese

Method

  1. Fry off onions. Once clear add mince and pasta sauce, let simmer for 10 mins

  2. Thinly slice courgette & dab with paper towels to remove excess moisture - set aside

  3. Mix ricotta, egg, salt and nutmeg together to make a white sauce, season with salt

  4. Cut wraps into smaller pieces to mimic pasta sheets

  5. Layer courgette into bottom of baking dish, then add a layer of beef followed by a layer of the ricotta white sauce

  6. Arrange wraps on top to cover, then add a layer of spinach, cheese, beef & white sauce

  7. Top with cheese then cover with foil.

  8. Bake at 180 degrees for 30 mins

  9. Bake a further 10 mins with no foil and it will brown up nicely

Banoffee Single Serve Cookie Baked Oats

GET IN MY BELLY! If you’re looking for someone quick you can whip up for dessert… or breakfast (I won’t judge) then look no further. This is a baked oats recipe, but not as you know it. It’s done a little differently and the texture is different to my other baked oats recipe due to being blended… think more like a cross between a pancake and a cookie. So yum and feels so decadent yet it’s healthy, made fro oats and full of protein.

Banoffee Single Serve Cookie Baked Oats!

Ingredients

1/2 cup rolled oats (I use the ‘scotch’ oats
1/2 banana
2 TBS Caramel or Salted Caramel protein powder *
1 egg
1/4 cup milk of choice
1/4 tsp baking soda
1 tsp maple syrup
Choc chips (I use sure free, use as many of you like)

Method

  1. Blend all of your ingredients together except for the chocolate chips until they are well combined and texture is smooth

  2. Pour into an oven safe single serve dish and sprinkle with choc chips

  3. Bake for 20mins at around 180 degrees on regular bake, but keep an eye on it. My first experiment resulted in an explosion from having oven too hot!

  • I get a really yummy salted caramel protein powder that is whey based from NZ protein. It’s amazing!

Quick & Easy Meal Prep Ideas

Quick & Easy Meal Prep Ideas

I love a bit of a meal prep session on a Sunday. It definitely helps my week go better being that little bit more organised, and the time investment is not that big. I put together a reel of my latest meal prep routine and thought I would share the recipes here in one place, plus I’ve added in one or two more that are go to’s.

Strategy wise - my goal is to always prep:
- One Protein
- Baking for lunchboxes
- One breakfast for the week (for example, either granola or baked oats)
- Some snacks
- if time, chopped veggies

Here’s what that would look like for prep.
________________

Pulled Pork or Beef Brisket

Having a protein in the fridge that will last 2-3 meals is a game changer. Our faves are my pulled pork or brisket as both can be used in a variety of meals that are quick and easy. This week our one Pork Shoulder did 3 meals.

Night 1: Quessidillas done in the toasted sandwich maker (just add cheese)
Night 2: Pulled Pork Subs. I buy some of the long loaves of French or Italian bread from Countdown, add cheese, lettuce and tomato. Bingo! Delicious
Night 3: Pulled Pork with Mashed Potato and Steamed Broccoli. Part of my meal prep this week was freezing some mash (game changer) so we pulled out a serve of that and it just took 5 mins to steam some brocoli

MASHED POTATO

Yep, you heard me right. Freeze some mashed potato! While some of the other things are on, pop on some potatoes. When cooked, drain and completely cool before mashing. Store servings in zip lock bags to store in the freezer.

Blueberry or Raspberry Cheesecake Baked Oats

I can’t tell you how much I love this recipe. It’s a life saver for me, making mornings so much easier. I bake one batch on Sunday and it lasts me until Saturday. GOLD.

Muffins or Cookies

You can’t beat the good old Edmonds Sweet Muffin mix! They are very easy, economical and quick. I add a mashed banana and either blueberries or raspberries to ours and Aiden loves them. Store in the freezer and just get one out when making lunches makes them last longer.

HOME MADE GRANOLA

Home made granola is really easy and really yummy. I have two recipes you can try.

Date, Banana & peanut butter chocolate bites

I make these every week, mainly for me. When I want something sweet, I can grab one from the freezer. They are SO yum!

Lastly, if you have time, chopping up veggies for meals ahead if always a great idea. I even shred our lettuce to save extra time when making salads or sandwiches.

Happy prepping!

Justine

Butternut Pumpkin, Kumara & Carrot Soup

Creamy Butternut Pumpkin, Kumara & Carrot Soup

I’m not usually a soup person, but I love this one. I make it a lot during winter and the whole family loves it.

It’s really quick and easy, but the best thing about it is its pretty versatile and forgiving. As long as you have your main starch vegetables in there, you can really add whatever other veggies you have in your fridge that need using. It’s really yum if you add potatoes too. You can also change up the soup mix flavour. The only reason I add soup mix is for the protein and nutrition from the lentils, barley etc,

The other great thing about this is it’s a dairy free creamy soup, which are hard to come by. I love that it’s a smooth and creamy soup, so you do need a stick blender for this recipe.

So here you go!

Ingredients

  • 1/2 butternut pumpkin

  • 2 carrots, peeled

  • 1 medium kumara

  • 1 medium onion

  • 1 cup soup mix
    (I use a Country style soup mix that is a blend of split peas, barley, lentils & seasoning)

  • 8 cups chicken or vegetable stock
    (I love the little stock pots, works out more cost effective)

  • 2 tsp Moroccon seasoning (optional)

  • 2 tsp salt

  • 1 cup coconut cream

Method

  1. Chop all your vegetables and place into large saucepan

  2. Make up stock if you’re making from cubes or pots and add to main pot along with soup mix & seasoning

  3. Cook on a low temperature for 1 hr minimum. You want all the veggies and lentils, barley etc to be completely soft and falling apart.

  4. Once cooked, blend with a stick blender and taste for seasoning.

  5. Once mostly blended, add in your coconut cream and mix through

  6. Serve with a little bit of extra coconut cream on top and some pumpkin seeds if you’d like some crunch.

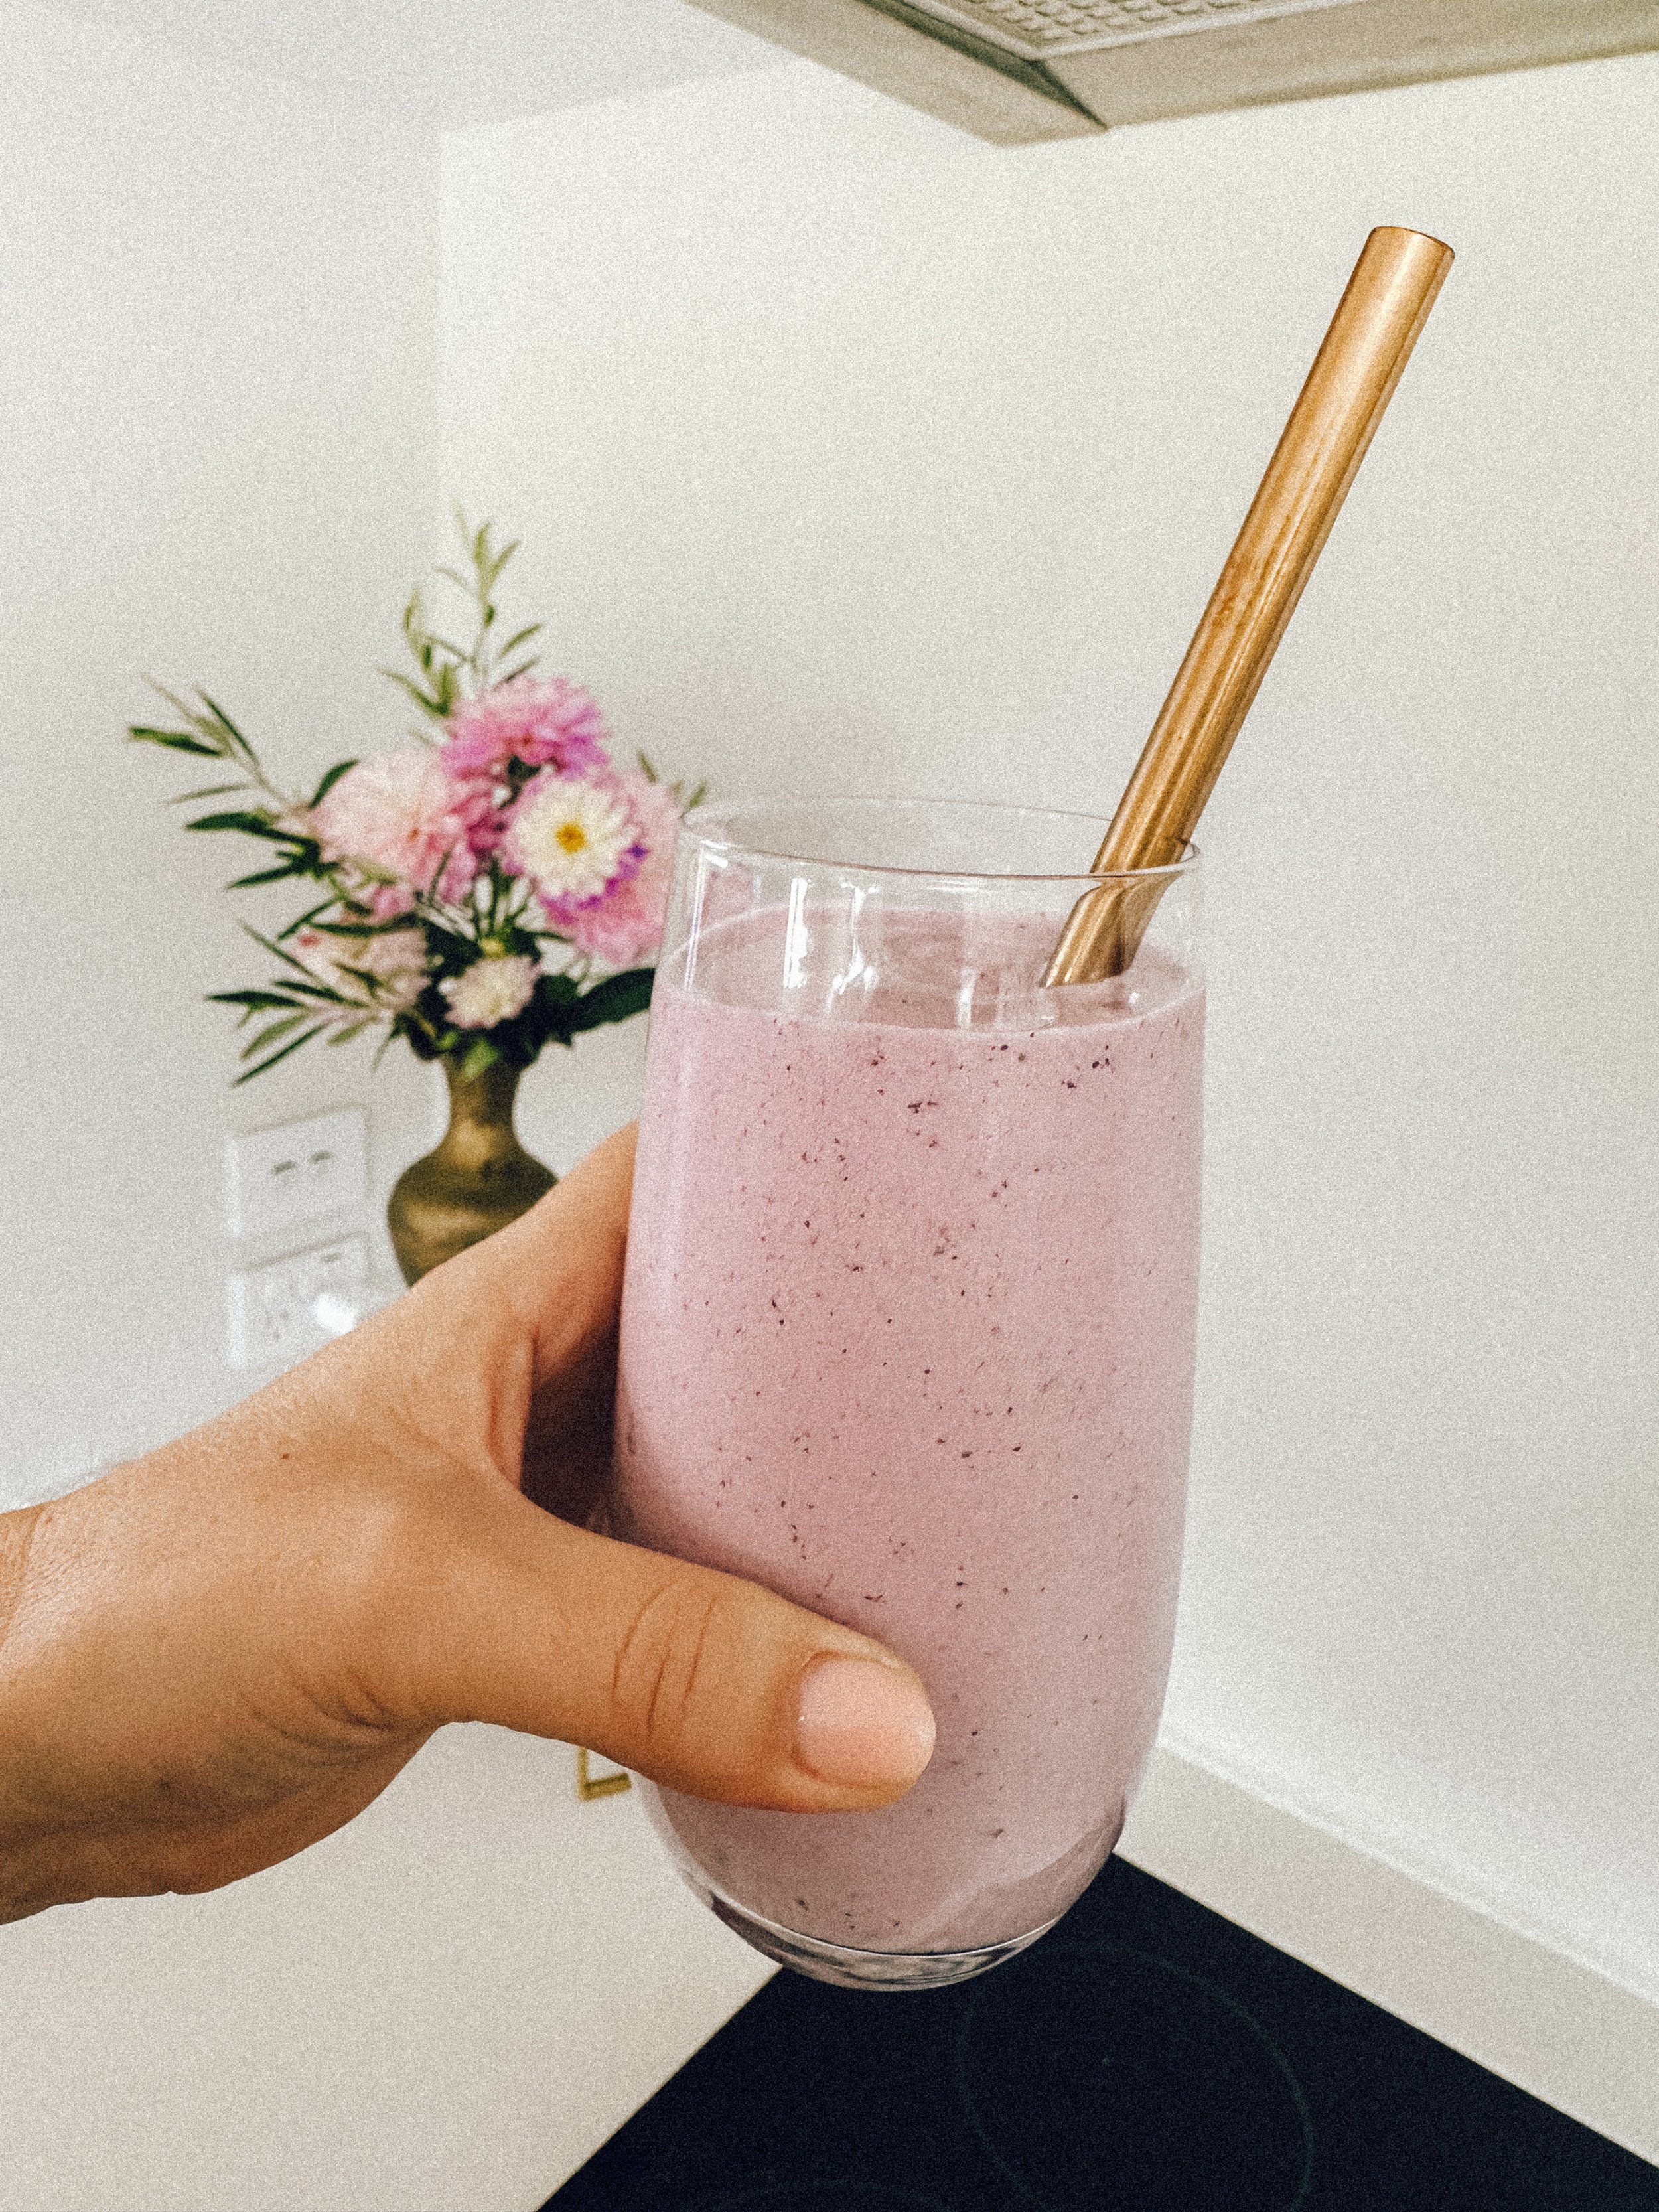
Aiden's Epic Berry Protein Shake

I cannot take all the credit for this one. I’ve been making berry smoothies for Aiden for years, but recently he’s been requesting them which has coincided with taking a more active & interested role in his own health & diet. This has all stemmed from being pretty serious about his sport. He’s been learning about the different food types, why protein is important for his muscles and recovery.

So, we have taken his fave berry smoothie and made a few tweaks to up his protein for post workouts or games and the result is SO SO delicious I just had to share with you. It’s extra thick and creamy, the texture is amazing thanks to a few secret ingredients. Don’t miss adding the zucchini to this, as it really adds so much creaminess and you can’t taste it at all.

Berry protein Shake

Ingredients

200ml milk (any kind)
1 small - medium banana, fresh
1/2 cup mixed frozen berries
2-3 pieces of frozen mango
2-3 pieces of frozen zucchini (trust me!)
Small handful cashews
3-4 pieces of ice (don’t overdo it or the shake will end up icy)
2 scoops NZ protein vanilla protein powder

Method

Pop all of your ingredients in a blender and blend for at least 45 seconds and then serve!

Slow Cooked Honey, Butter & Garlic Chicken

This is simply put, the best way to eat chicken. Big claim, I know, but just try it and let me know if you agree. I am also partial to fried chicken, but seeing as I don’t know how to make that and this is much healthier, I’m running with my claims!

This recipe is super easy and the chicken comes out so tender, juicy & full of flavour.
I love big flavour pay offs for not a lot of effort!

The trick here is to you use chicken thigh, so you’re getting more of that dark meat that will go nice and tender. The prep will only take about 10 minutes, which includes making a rub for the chicken, and a butter, garlic, honey & soy sauce that the chicken will cook in. Then the chicken is cooking in the slow cooker for the day and you can get on with your day.

Our favourite way to eat this chicken is kind of shredded / cut up with a side of green veggies, roast potatoes & coleslaw with the extra sauce poured over the top. The coleslaw cuts through the richness which is why a fresh element works so well. You can also keep it whole, but it can be challenging sometimes as it’s so tender it literally falls apart!
Also great however you use your shredded meat. Night two we often use for quesadillas.

Slow Cooked Honey, butter & Garlic Chicken

Ingredients:
4-6 boneless /skinless chicken thighs
(recipe also works with bone in chicken which is often cheaper)

The Sauce:
1/2 cup butter or butter alternative (we use olivani)
1/2 cup runny honey or creamed honey
2 TBS rice wine vinegar
2 TBS soy sauce
1/2 tablespoon mined garlic

The Rub:
1 tsp each smoked paprika, onion powder, garlic powder & salt
1/2 tsp brown sugar
1 TBS oil


Method:

  1. Place all sauce ingredients into a pot and heat. Once simmering, take off heat.

  2. While the above is heating on the stove, mix all rub ingredients together and rub onto chicken

  3. Sear chicken (optional). If you have time & want to lock in those flavours, sear the chicken quickly on high heat for 5 mins. I only do this about half the time I’m making this!

  4. Place chicken into slow cooker and pour sauce over the top

  5. Cook on low for 6-8 hrs or high for 4hrs

  6. When the chicken is finished cooking, I often take out the remaining liquid and reduce on the stove top for about 10 mins to reduce down and thicken up a bit. Just skim off the fat layer first and then serve with he chicken for extra moisture.

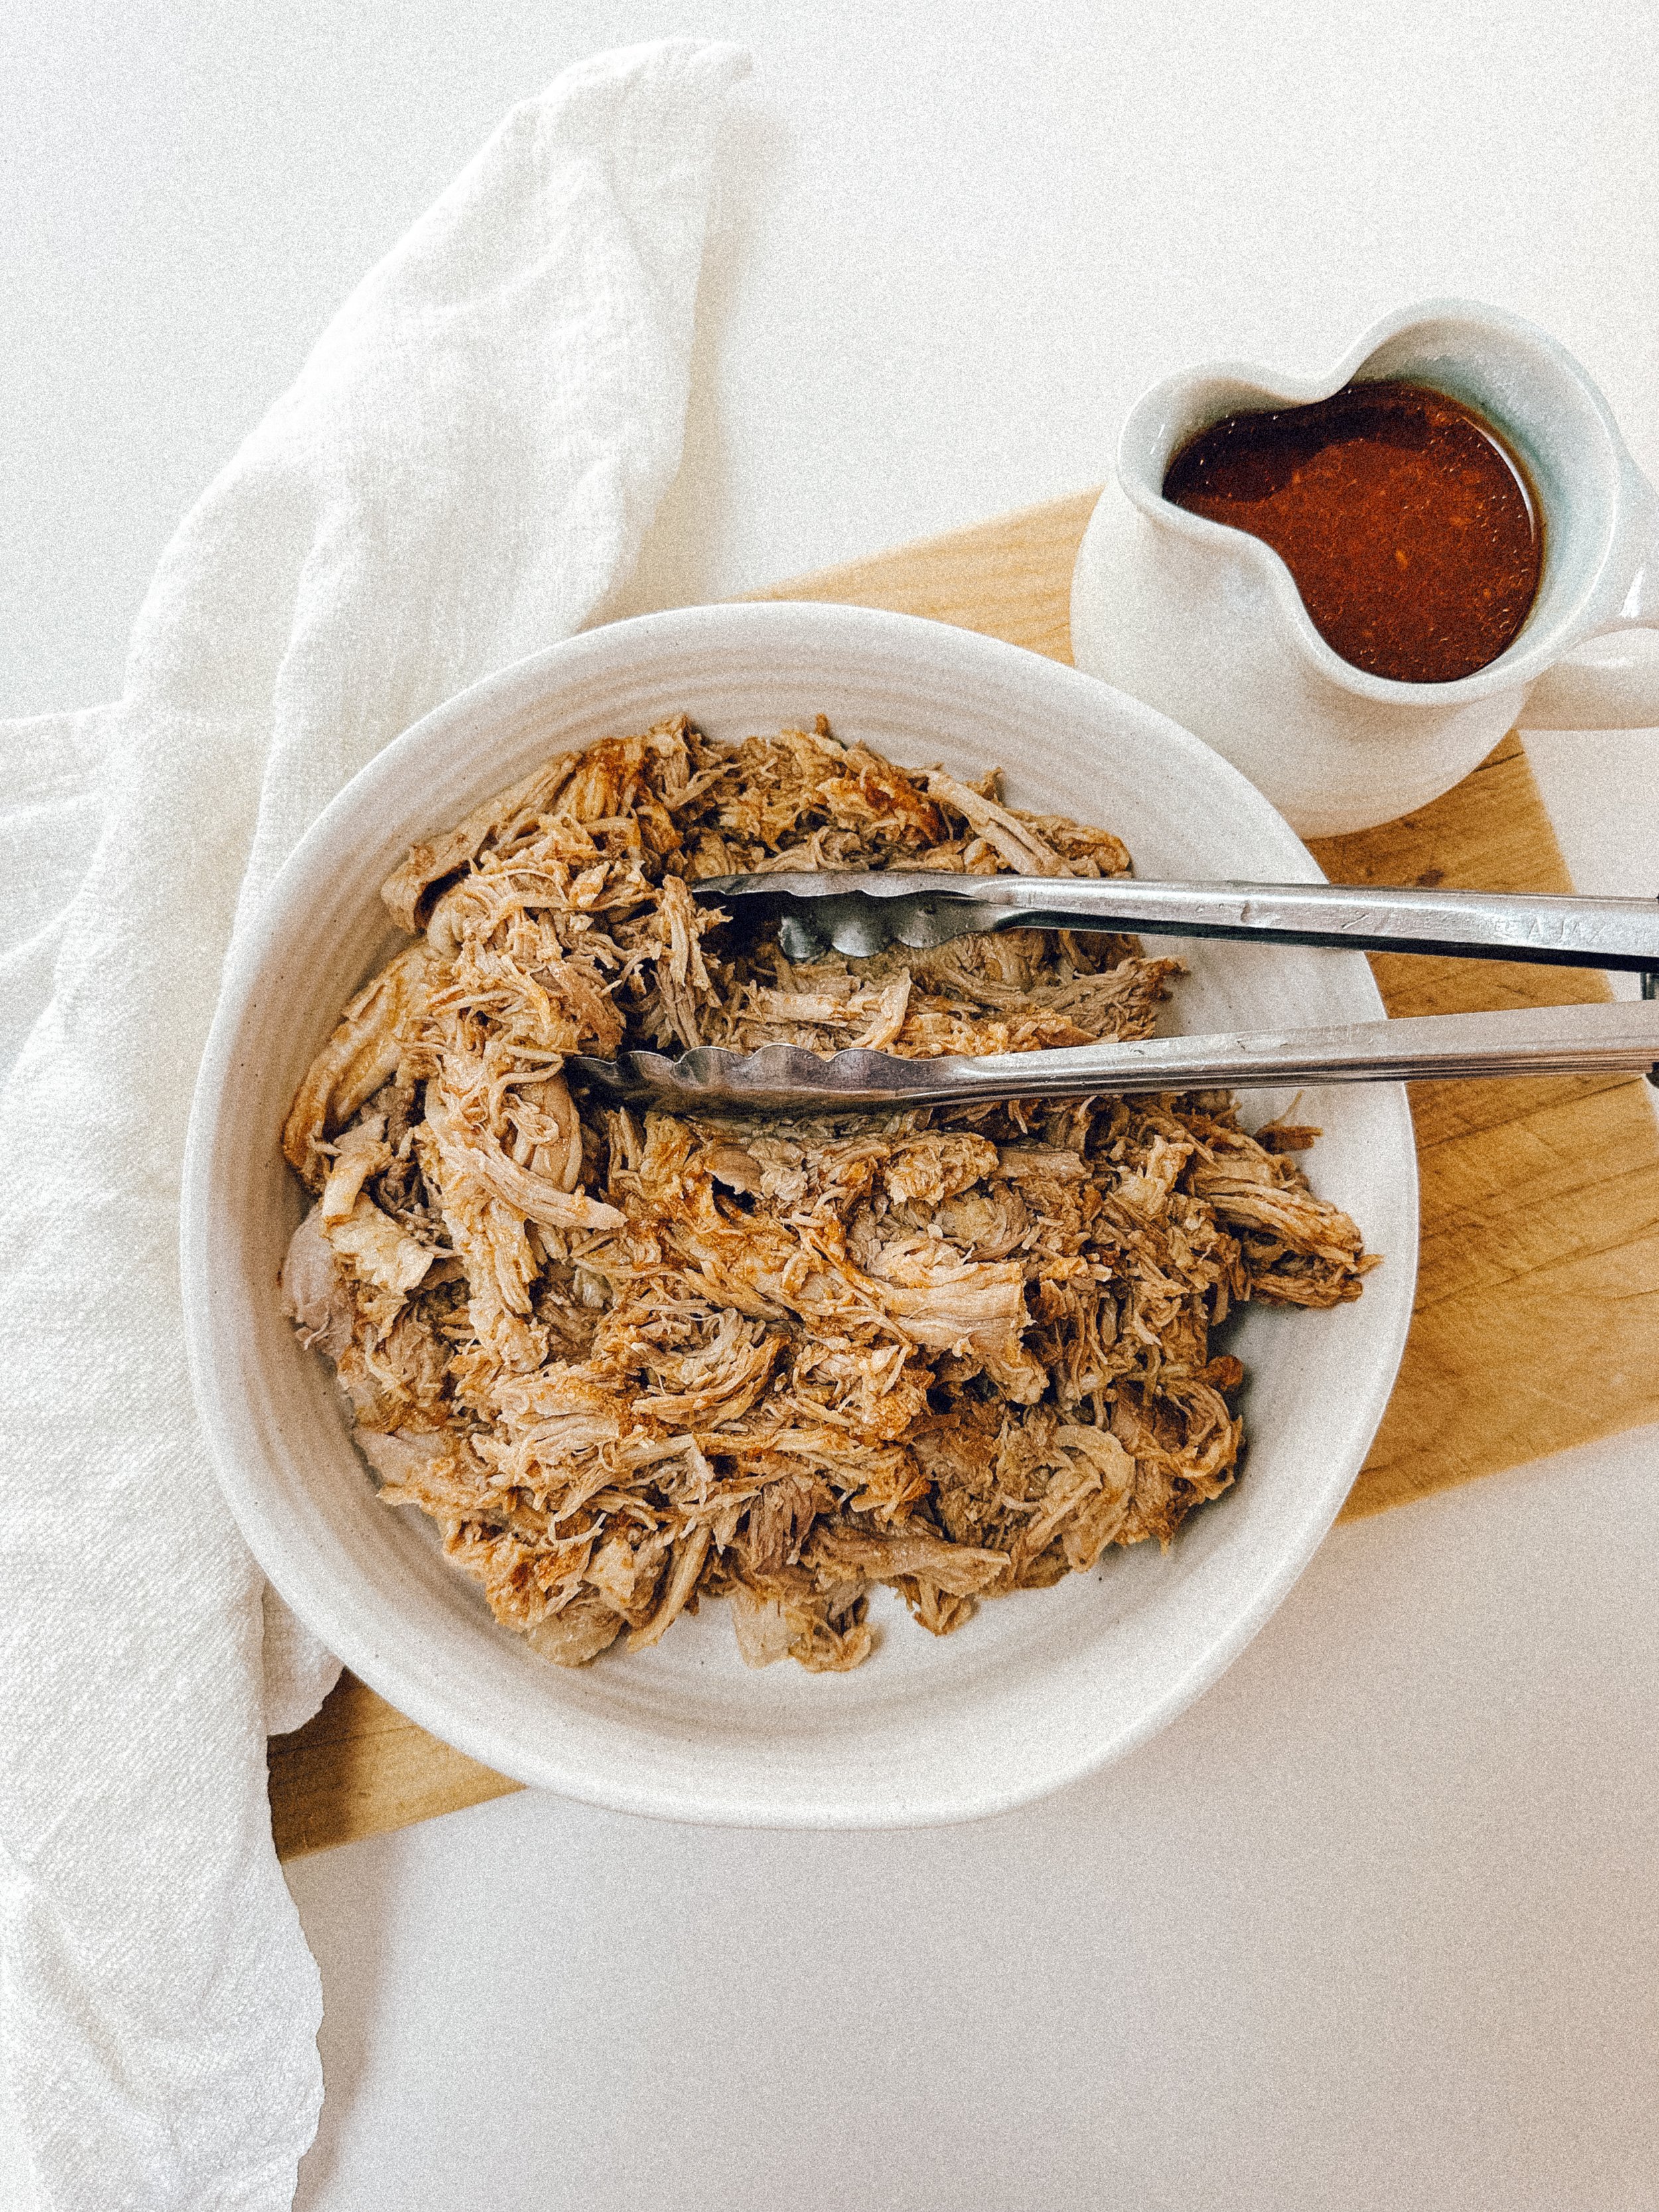
Slow Cooker BBQ Pulled Pork

DROOL! This is the absolute favourite meat dish in our house, with the beef brisket being a close second… which isn’t surprising as it’s virtually the same recipe with a few tweaks. I decided to publish this one separately so that you can find it if you’re looking for a winning Pork dish.

The recipe is a winner in summer or winter, or if you have guests coming over. We love to pop on buns to make burgers with coleslaw and some roast potatoes. It’s also really cost effective and versatile. It lasts us several nights and we use for burgers as mentioned above but also quesadillas and pulled pork pie.

Slow Cooker BBQ Pulled Pork

I use a 2-2.5kg bone in pork shoulder for this recipe

Incredients for the Rub
1 tbsp brown sugar
2 tsp smoked paprika powder
1 tsp onion powder
1 tsp garlic powder
1/2 tsp cumin powder
3/4 tsp mustard powder
1 tsp salt

Ingredients for the BBQ Sauce
2 garlic cloves , minced
1/2 cup / 125 ml apple cider vinegar
1 small jar plain pasta sauce or passata
1/4 cup brown sugar
2 tsp EACH of onion powder, mustard powder
1 tsp salt
1 tbsp Worcestershire sauce

Method:

  1. Prepare your rub ingredients in a small bowl by mixing together, then rub on the meat. If you have time, leave for 30+ mins to soak in, but I rarely do this.

  2. Combine BBQ Sauce ingredients in a slow cooker. Mix then add the pork and squish it in if needed

  3. Slow cook for 8-10 hrs on low, or around 5hrs on high if you’re shorter on time. Honestly the longer the better!

  4. Once cooked, remove the meat onto a tray or board ready to ‘pull’, just make sure you remove the top layer of fat first, and any bones. To do this, get two forks and just start going at it to rip up the meat.

  5. Pour liquid in slow cooker into a saucepan. Bring to simmer over medium high heat and reduce until it thickens to a syrup consistency (it thickens more as it cools). Usually around 10 mins. I often skim off the fat before serving.

  6. Your pulled pork is ready to serve and store. Even better the next day for leftovers.

Best Beef Brisket Recipe Ever!

It’s about time I started sharing my slow cooker recipes, because they are staples in our house that we live on year round. This recipe is so amazing that my 13yr old son has dubbed it his favourite dinner. I originally found the recipe on a website called RecipeTinEats. Her original recipe has a few more steps than me, because I’m all about simplification. The ingredients are much the same though (although I lowered the sugar), so credit to her for this deliciousness!
She likes to add a few steps at the end which includes grilling & glazing the the finished beef in the oven a few times, but I find it’s delicious without those extra steps. The one step I wouldn’t miss at the end is taking out the liquid to make a sauce. The sauce is liquid gold, we like to pour it over the meat at the end (even though it’s already succulent) and on our vegetables… really anything in sight, it’s that good.

The recipe is a winner in summer or winter, or if you have guests coming over. We love to pop on buns to make burgers with coleslaw and some roast potatoes. So good!

The other great thing about this recipe is that beef brisket is a reasonable cut of meat, it’s not expensive, just takes slow cooking to make it good.

So here we go, enjoy!

Best Beef Brisket Recipe Ever!

Incredients for the Rub
1 tbsp brown sugar
2 tsp smoked paprika powder
1 tsp onion powder
1 tsp garlic powder
1/2 tsp cumin powder
3/4 tsp mustard powder
1 tsp salt

Ingredients for the BBQ Sauce
2 garlic cloves , minced
1/2 cup / 125 ml apple cider vinegar
1 1/2 cups / 375 ml ketchup
1/3 cup brown sugar
2 tsp EACH black pepper, onion powder, mustard powder
1 tbsp Worcestershire sauce

Alternate: If I don’t have tomato sauce I actually just use pasta sauce. It turns out just as good and actually lowers the sugar content as well.

Method:

  1. Prepare your rub ingredients in a small bowl by mixing together, then rub on the meat. If you have time, leave for 30+ mins to soak in, but I rarely do this.

  2. Combine BBQ Sauce ingredients in a slow cooker. Mix then add the brisket and squish it in if needed

  3. Slow cook for 8-10 hrs on low, or around 5hrs on high if you’re shorter on time. Just keep an eye on it as the sauce can start to burn if you leave it in too long

  4. Once cooked, remove the meat onto a tray or board ready to slice. If you’re wanting more of a ‘pulled’ brisket, I would just get two forks and break up the meat that way

  5. Pour liquid in slow cooker into a saucepan. Bring to simmer over medium high heat and reduce until it thickens to a syrup consistency (it thickens more as it cools). Usually around 10 mins. I often skim off the fat before serving.

  6. Your brisket is ready to serve and store. Even better the next day for leftovers.

Mums Meatloaf

Meatloaf is one of my favourite dinners. It takes me back to being a kid on the farm when my Mum would make it. So yummy and comforting. This is my Mum’s old recipe that she’s been making for years, and now so have I!

The great thing about this recipe is it’s also super versatile, just use whatever veggies you have on hand. The other hack is to make mini meatloaves and freeze. Either make in muffin tins and top with bacon, or shape into a cylinder shape and wrap in bacon to cook, and then pop in the freezer and pull them out when needed.

Enjoy!


Meatloaf

Ingredients

500g beef mince
* or combine 250g lamb & 250g pork for different taste
1 onion – finely chopped
2 carrots – grated
1 Zucchini – grated
½ Red Capsicum – finely chopped
¾ cup breadcrumbs
2 Tbs BBQ Sauce
2 egg, lightly beaten
1 tsp garlic
Mixed herbs
Salt & Pepper to taste

Note: This meatloaf recipe is quite moist.  To make firm / easy to slice meatloaf, add more breadcrumbs and remove 2nd egg.

Method

  1. Preheat oven to 170°C. Line a 9cm x 19cm loaf pan with non-stick baking paper.

  2. Use clean hands to combine mince, onion, carrot, zucchini, capsicum, breadcrumbs, herbs, egg, BBQ Sauce and garlic.  Add salt & pepper to taste.

  3. Press the mixture into the loaf pan and smooth the surface. Brush on a thin layer of BBQ sauce.  Cover with foil. Bake for 30 minutes.

  4. Remove the foil and bake for 30 minutes or until the juices run clear when pierced with a skewer. Drain off the liquid. Rest in the pan for 5 minutes before serving.

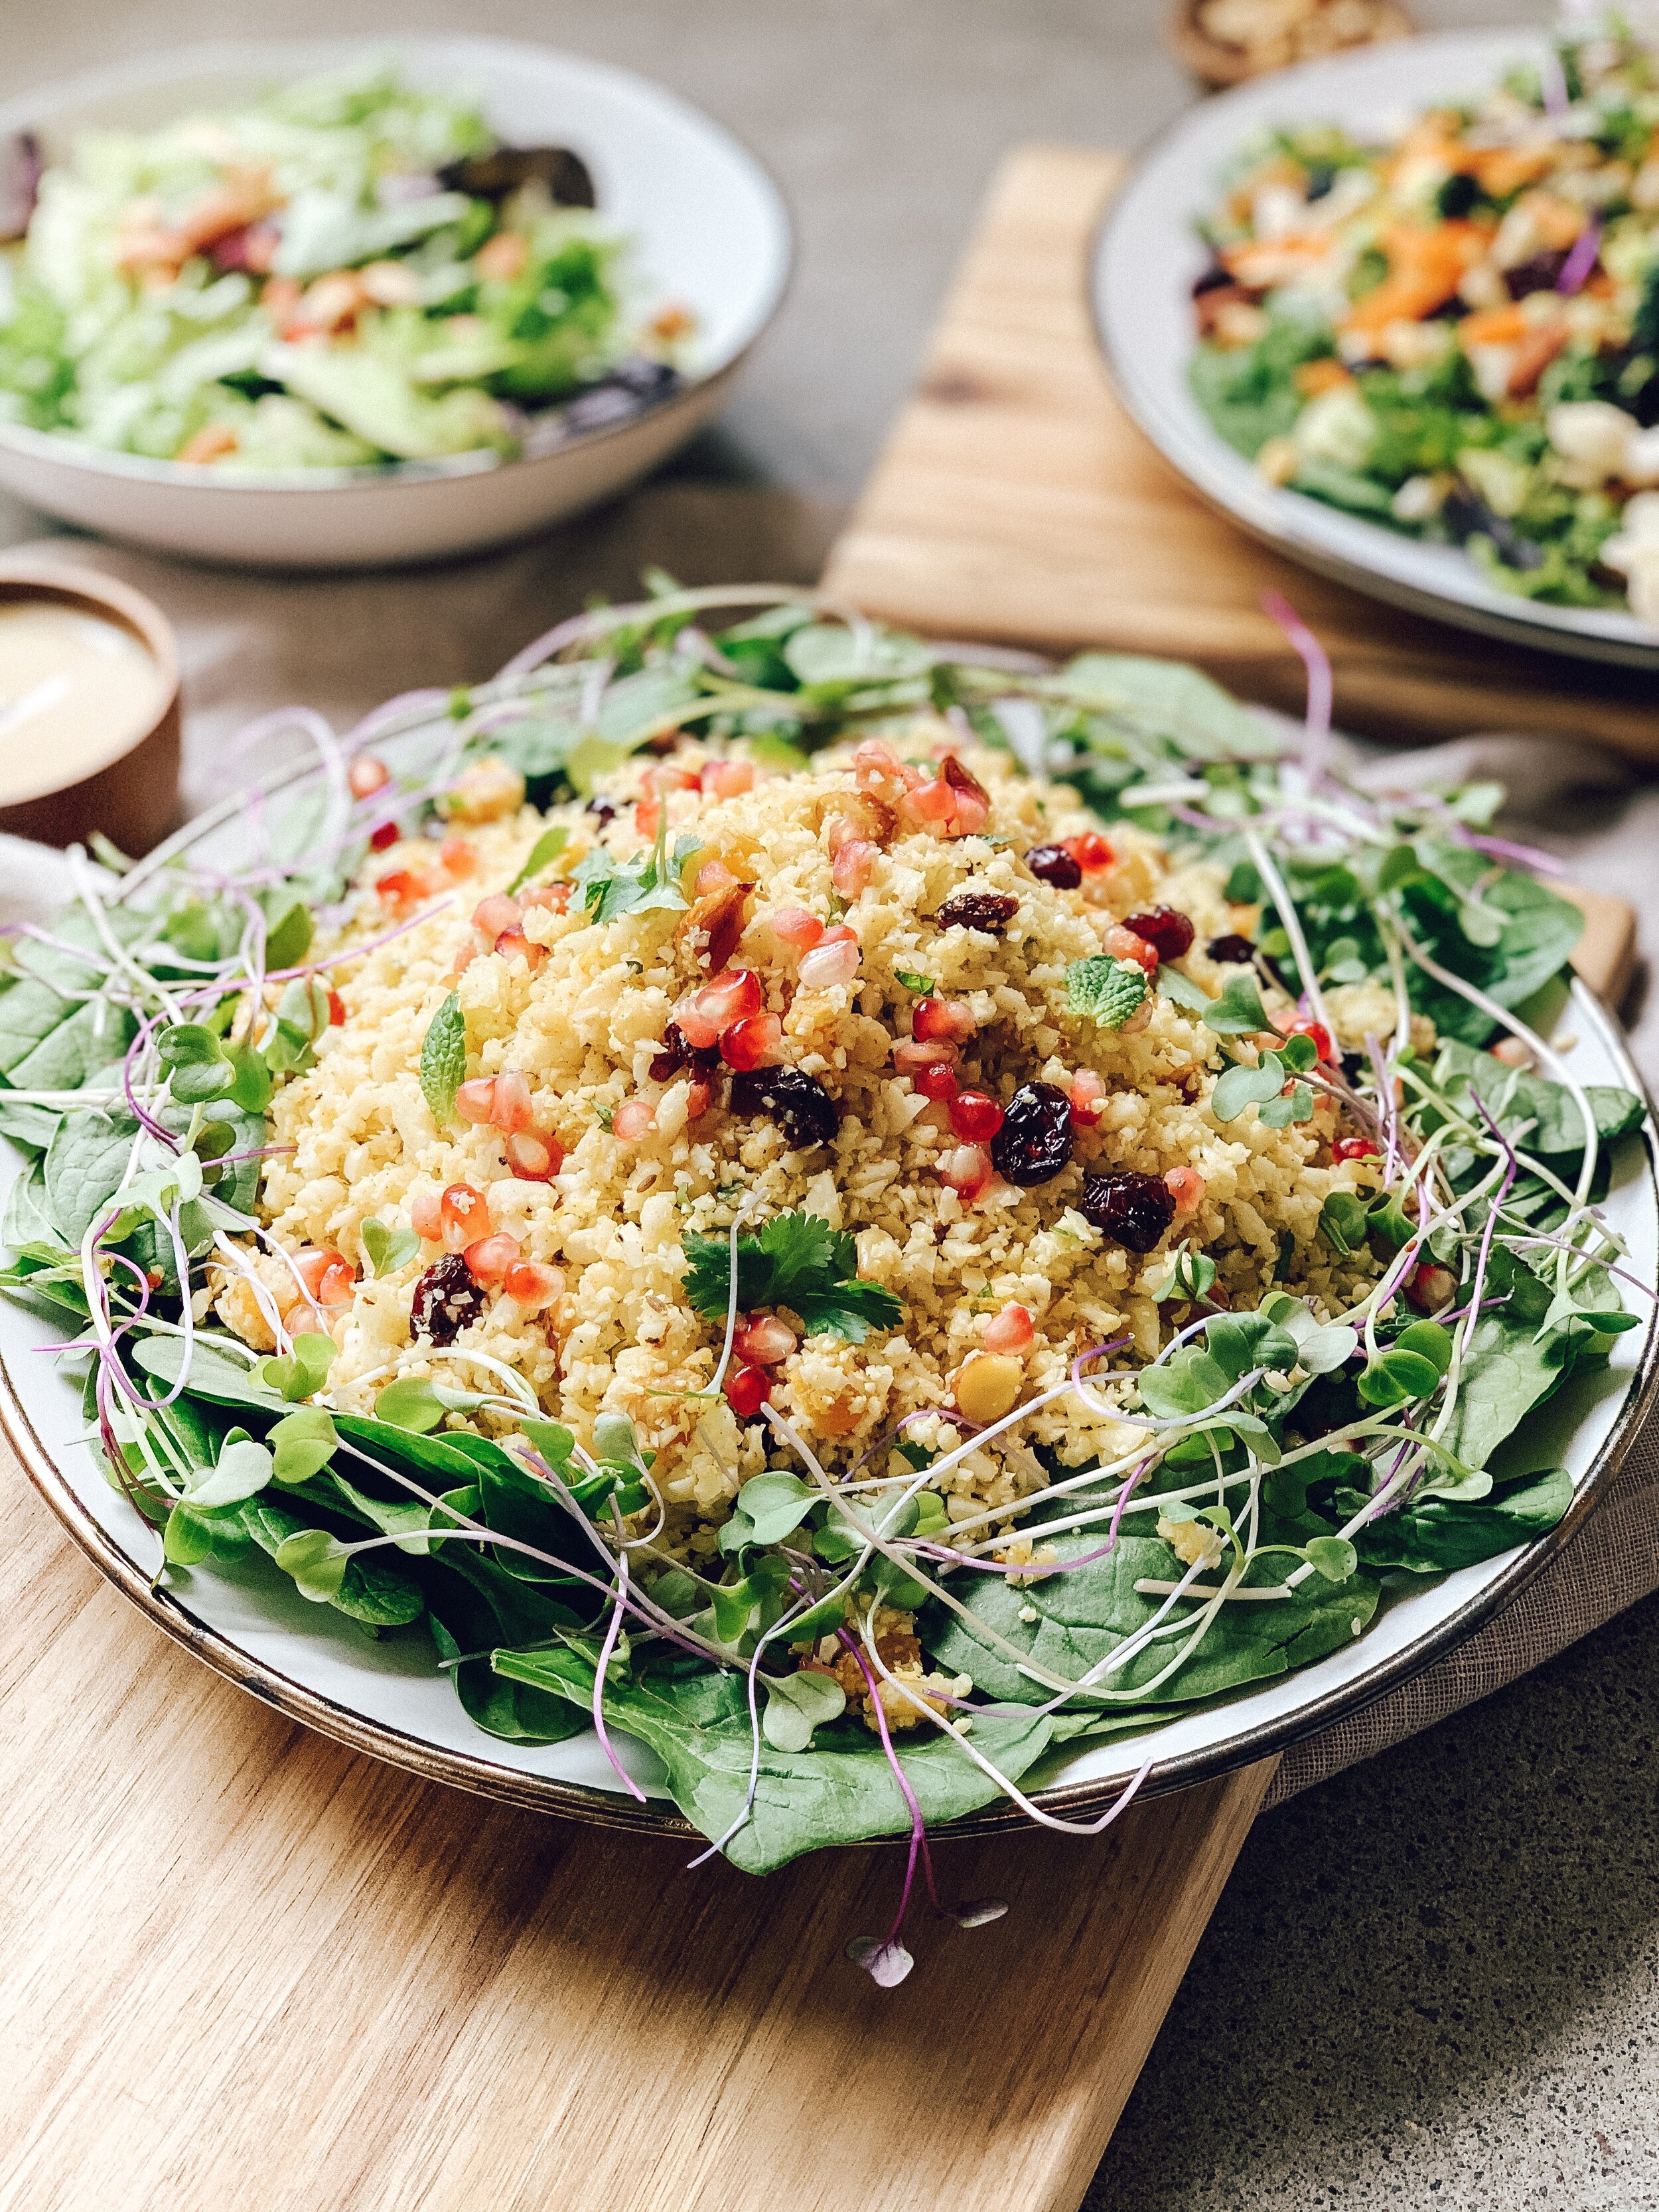
Moroccan Spiced Cauliflower Salad

I’m a crazy for cauliflower kind of girl. I love it steamed, roasted, pan fried, riced, mashed… you name it, I’m all over it. Last summer I wanted to create a Cauliflower salad that used Cauliflower rice because since cutting back on carbs, I missed having couscous or rice in a salad. I also love Moroccan flavours so decided to combine the two. This is an easy and cost effective salad that is easy to throw together and it looks great on a bed of spinach or greens. Perfect if you need to take a plate or for a dinner at your place.

This recipe was featured in Issue 4 of Mood Magazine. Enjoy!

Moroccan Spiced Cauliflower Salad

Moroccan Spiced Cauliflower Salad & Quick and Easy Raw Salad

Moroccan Spiced Cauliflower Salad & Quick and Easy Raw Salad

1 head of cauliflower

2 tsp olive oil

1 + ½ tsp ground coriander

1 tsp cumin seeds

1 tsp paprika

¼ tsp ground cinnamon

Zest of 1 lemon

5 tbsp dried fruits ( I used dried cranberries + apricots)

4 tbsp nuts (I used chopped almonds + pine nuts)

Pomegranate seeds, coriander and mint to serve

  1. Cut cauli roughly into florets and place into blender

  2. Pulse until the cauliflower takes on a couscous like appearance.

  3. Heat the olive oil in a large frying pan and add the couscous, allow to cook for 5 to 7 minutes stirring frequently.

  4. Transfer the couscous to a large bowl and set aside to cool.

  5. Once cooled add the spices, lemon zest, dried fruits and nuts.

  6. Add finely chopped herbs 

  7. Stir well and season

  8. Top with pomegranate seeds, fresh mint and drizzle of tahini & lemon dressing

Photo 8-11-19, 1 31 40 PM.jpg

Halloumi, Asparagus & Avocado Salad

This week I went over to my friend Annalee’s house to teach her this amazingly delicious and super easy recipe. Annalee is a makeup artist & vlogger from New Plymouth, her kitchen is honestly heaven! It makes me so excited to build our house and my dream kitchen! Asparagus is still in season, and so is avocado - and I’m pretty sure halloumi is Annalee’s favourite food, so, match made in heaven!

Halloumi, Asparagus & Avocado Salad

Photo 8-12-18, 2 22 53 PM.jpg

1 small block halloumi cheese
1 bunch asparagus
1 avocado
1 bag spinach
2 free range eggs
Cherry tomatoes
1/2 red onion

Heat a pan over medium heat with a drizzle of olive oil and 1 heaped tsp butter, when heated, add in slices of halloumi cut approx 1/2 cm thick. Pan fry until browned on each side - watch while it cooks as it will burn easily.

Add a little more oil and butter to the pan in order to pan fry your asparagus. Fry for approx 3-4 minutes. Should be nice and crunchy. Season well.

Hard boil your eggs in boiling water for 10 mins and then put in cold water to cool.

Once everything is cooked, lay a bed of spinach in a bowl and then add in all of your other ingredients on top.

For the dressing mix together:
Juice from half a lemon
3-4 TBS olive oil
1 TBS wholegrain mustard
1/2 TBS mayonnaise if you want to make it creamy

Photo 3-12-18, 11 51 09 AM.jpg
Photo 8-12-18, 2 22 56 PM.png
Photo 3-12-18, 12 01 47 PM.jpg


Meal Prep Ideas: Dukkah Crusted Chicken

Crunchy, crispy chicken paired with stir fried veges for the win! Super easy & filling. What’s not to love? You can mix it up with any veg that you love.

IMG_1583.jpg

Shopping List to make 6 x lunches or dinners:

1 x jar dukkah
3 x large free range chicken breasts
2 x zuchini’s
2 x red capsicum
1 x red onion
2 x purple kumara
1/2 pumpkin
1 head broccoli
1 can corn kernals
Fresh baby spinach

Staples:
Olive oil, butter or olivani (if dairy free) plus seasoning

Prep:

  1. Preheat your oven to 180 degrees & line a baking tray with baking paper

  2. Prepare your chicken by slicing through the middle to make two x chicken steaks

  3. Place your dukkah on a plate and crust your chicken with it, set aside

  4. Roughly chop your kumara and pumpkin into 2cm cubes, place on a tray and bake in the oven for 25 minutes

  5. While the root vegetables are roasting, prepare your remaining veges to be stir fried. You can opt to just roast everything if you want to save time.
    I stir fry the brocoli, onion, capsicum and zuchini.

  6. Heat a drizzle of oil in a pan and stir fry your remaining vegetables (start with capsicum and onion, add the zuchini when the others are almost done). Set aside when done.

  7. Heat a little more oil in your pan, and brown the chicken for 2 minutes each side

  8. Once browned and sealed, place your chicken on an oven tray, they will need cooking for approx 10-12 minutes

  9. In your lunch containers, place some roast veges in the bottom, plus some of the stir fry veges. Add some fresh corn, spinach and lastly your cooked chicken.

Photo 21-11-18, 2 26 35 PM.jpg

Meal Prep Ideas: Wild Salmon, Asparagus & Broccoli Bowls

Fresh, in season, simple and delicious. This is very easy and quick to prep.

For the Salmon

Shopping List:

Photo 25-11-18, 4 57 20 PM.jpg

3 fillets of salmon from the deli that will easily cut in half. Choose NZ deli salmon if you can, should be around $30 a kilo.
1 bag Israeli couscous (can be swapped out for rice or quinoa)
1 bunch asparagus
1 head broccoli
Fresh baby spinach
1 x lemon

Staples:
Olive oil, butter or olivani (if dairy free) plus seasoning

Prep:

  1. Preheat your oven to 180 degrees & line a baking tray with baking paper

  2. Dab your salmon with a paper towel to reduce moisture and drizzle with olive oil & season with salt and pepper. Cook in the over for 10-12 minutes, depending on the thickness of the salmon. It is done when it starts to flake and is no longer opaque inside.

  3. Cook your couscous per the instructions, once boiling, cooks for roughly 7 mins.

  4. Roughly chop your asparagus and broccoli

  5. In a pan, heat a drizzle of oil with roughly 1 TBS of butter or olivani (the oil will stop the butter from burning), once getting hot, add your asparagus and brocoli.
    Pan fry for 5 minutes or until reached preferred tenderness

  6. When the couscous is finished cooking, season well with salt and pepper, add some zest of a lemon and add a squeeze lemon juice as well to add flavour.

  7. When everything is done, add your lemon couscous, spinach, green veges, salmon & a wedge of lemon into containers and store in fridge for up to a week.

This weeks prep also included  * roasting a mix of kumara, red onion & beetroot to add to salads for dinners or lunches * Pita chips for Aiden’s lunch box (cut up wholegrain pita bread, drizzle with oil, season and  bake for 6 minutes * blueberr…

This weeks prep also included
* roasting a mix of kumara, red onion & beetroot to add to salads for dinners or lunches
* Pita chips for Aiden’s lunch box (cut up wholegrain pita bread, drizzle with oil, season and
bake for 6 minutes
* blueberry chia jam

Boysenberry & Banana Smoothie Bowl

Now that summer is here, or at least feels like it is, we are going to be making Smoothie Bowls on the regular at our place. I love coming up with new flavour combo’s based on what I have in my cupboard or freezer.

Photo 13-11-18, 12 37 56 PM-6.jpg

This is my absolute new fave, and with the boysenberries, it’s high in vitamin C!

There are a few important things to remember - first, you need a good blender. If you have a bullet or smaller blender you may not get the result you are after, or it just might take a while. You have to BLEND BLEND BLEND! Secondly, I used to just throw everything in and blend all at once, but I do think it works out better if you add the liquid in slowly as it’s blending. Makes it harder to add too much and end up with a smoothie.

Make sure you add lots of good stuff on top, especially crunch!

PS. The immune blend mentioned below is a health blend from The Wholesome Co.

Boysenberry & Banana Smoothie Bowl

1.5 frozen banana
1 Cup frozen boysenberries
1TBS chia seeds
1/4 cup liquid
Optional:
1 TBS Acai powder
1 TBS The Wholesome Co Immune Blend

Method:

The key is in the blending, add only a tiny bit of liquid and start to blend, adding more slowly as it mixes. Once you get nice and smooth and to your desired consistency, you’re done!


Photo 13-11-18, 12 42 32 PM-4.jpg

Chocolate Chia Pudding

Thanks Countdown for this fabulous recipe! I made this recipe today after receiving some new healthy products from Countdown that they are putting on price lockdown. How good is that? Healthy products at lower prices every day. Healthy eating is something I feel really strongly about, and I’m so stoked that healthy options will be more accessible and easier for everyone.

Enjoy this super easy and quick chocolate pudding!
PS. if you don’t like the chia pudding consistency, once it’s set, blitz it until smooth!

Ingredients

chocchiapudding.jpg
  • 1 cup almond milk

  • 1/3 cup black or white chia seeds

  • 1 Tbsp cacao powder

  • 1/2 cup blueberries, plus extra to serve

  • 2 Tbsp raw honey plus extra to drizzle

  • 2 Tbsp mixed nuts, chopped

  • 1 Handful cacao nibs, to serve

Method

1. In a large jug, combine milk, seeds, cacao powder and honey. Mix well. Set aside 10 minutes, stirring occasionally to prevent clumping.

2. Add blueberries and stir until combined. Pour evenly among 4 serving glasses or bowls. Chill for 30 minutes.

3. Serve topped with extra blueberries, cacao nibs, nuts and a drizzle of honey.

Kumara & Pumpkin Superfood Salad

We are coming into salad season (YAY) and I am so excited to start upping my salad game! While we wait for summer to fully arrive, my absolute fave Spring salad mixes winter roast veg, with some fresh summer greens and salad veg coming into season.

Nothing beats this delicious combo of warm roasted vegetables with spinach, tomato, avocado and pumpkin seeds for some crunch. I almost always add a free range poached egg, it adds a great creaminess.

Roast the following at 180 degrees for 25-30 mins in olive oil or coconut oil, turning every 10 mins:Then

1 cup diced kumara 
1 cup diced pumpkin 
1 red onion 
1/2 cup pumpkin seeds, roasted in the last 10 mins

Then In a bowl combine;
1 cup spinach 
Handful cherry tomatoes 
Dressing of choice (I used a creamy avocado dressing)
1/2 an Avocado 
Feta cheese

Add your roast veges & pumpkin seeds to the salad and top with a poached egg if desired. 
You can easily add a protein like chicken or beef to this too. 

Enjoy!

Delicious spring salad featuring roast veg!

Delicious spring salad featuring roast veg!

Roast veggies with pumpkin seeds

Roast veggies with pumpkin seeds

Acai Bowl Recipe

If you are like me, you hear a lot of hype about acai.
Acai bowls seem to be everywhere, well at least all over instagram.  Because I am often searching for healthy, nutritious recipes, the acai bowl features heavily.  So what is acai?  It is a berry found in the Amazon (sounds exotic already) and is deemed a superfood because of the myriad of wonders it does.  The benefits boast aiding digestion, promoting skin health, boosting your immune system, helping your heart and has anti ageing effects. Plus, hell, it's purple. Say no more - I'M IN!

With all this in mind, today I decided to make my own Acai Bowl. It was a hit (with me) and I'm pretty sure Acai will become a regular superfood in our household. First up you are going to need some Acai Powder. I opted for an organic powder by Goodhealth, which is stocked at my local small town pharmacy.

I played around for a little while today to see what worked, and came up with a really delicious bowl for lunch. Feel free to play around and put your favourite toppings on, be your own experiment and enjoy!  In my very short Acai Bowl career I have learned that for a successful bowl, you need a creamy, thick smoothie base and some nice textures on top, think crunch and texture.

Acai Bowl Recipe

Blitz together the following:
1 x banana
1/2 cup fresh or frozen strawberries
1/2 cup fresh or frozen blueberries
2 Tablespoons acai powder
1 Tablespoon nut butter (I used Peanut Butter)
Up to 1/2 cup coconut milk or almond milk (adjust amount until you get a creamy, thick consistency)

Pour into a bowl and then have some fun decorating! 

Toppings:
Blueberries & Banana or other fresh fruit
A crunchy nut & seed cereal or granola - I love Cathedral Cove Raw Paleo Super Cereal
Almonds
Chia Seeds
Goji berries
Coconut
More nut butter if like me, you love it!

Let me know if you have a favourite acai bowl recipe, I'd love to see how everyone uses this wonderful superfood.

J xx

acaibowl.jpg